Workspace people
Workspace Owners can manage members and guests of their workspace. They can add and remove them, as well as assign them roles as needed.
The People section of your workspace is where you manage all users associated with it.
It is divided into three tabs: Members, Guests, and Invitations.
Members tab
The Members tab displays a table of all current workspace members, sorted by their join date.
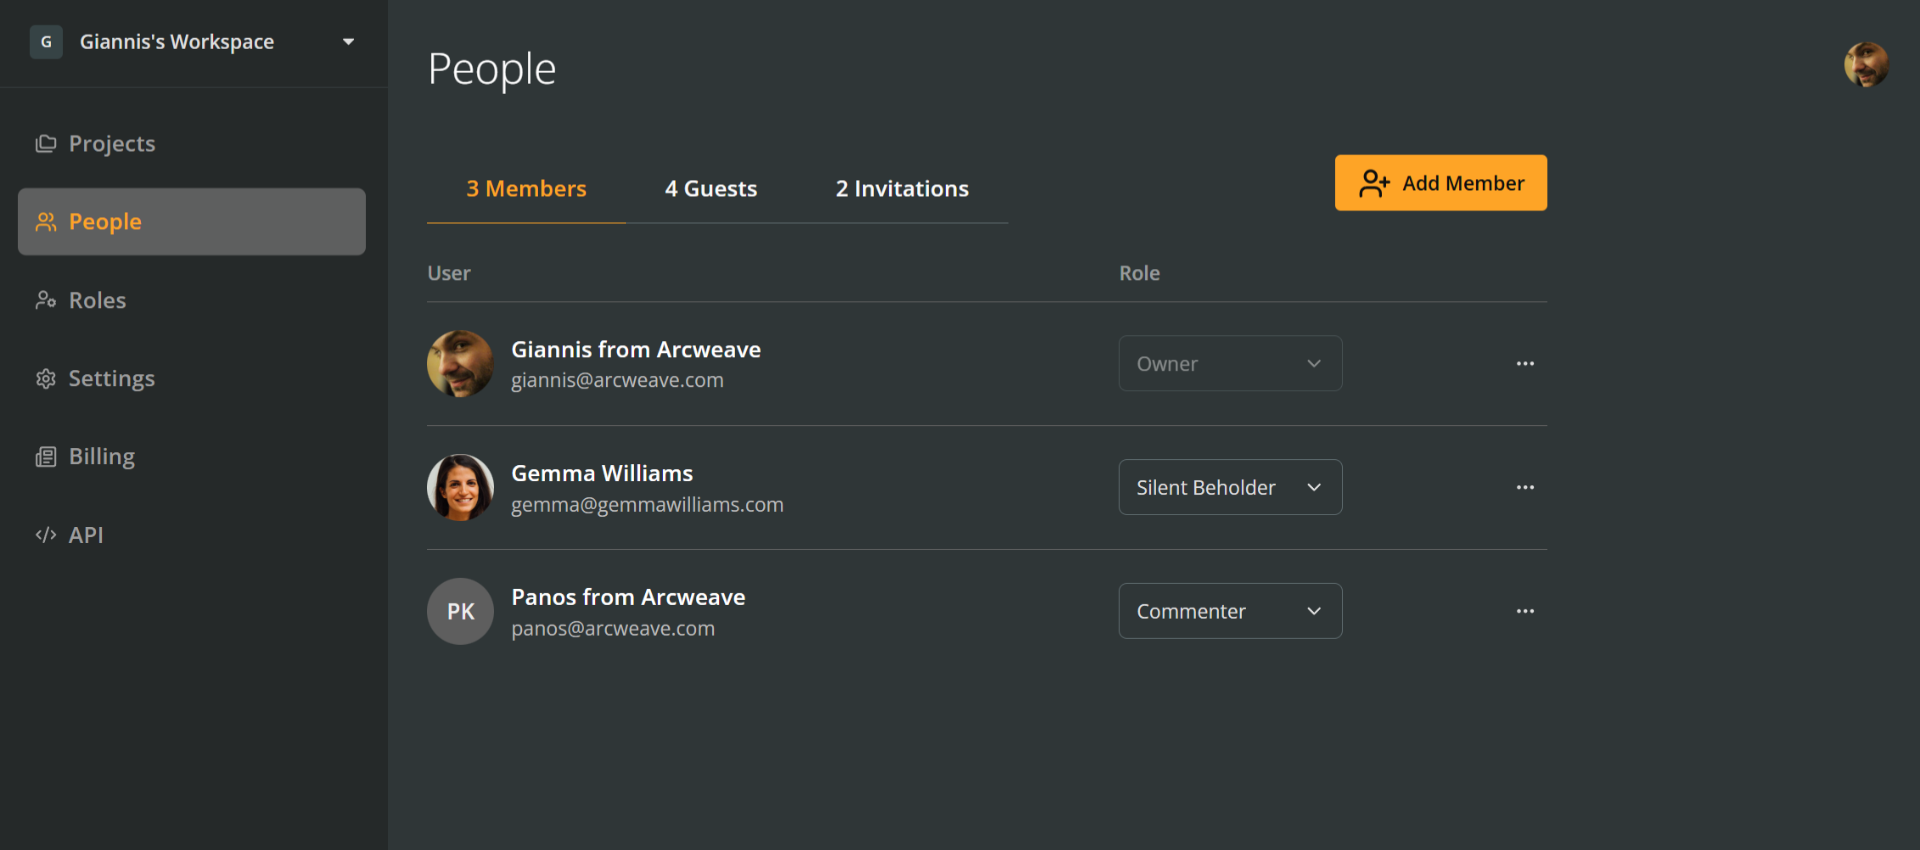
The Members tab has the following columns:
- User: Displays each member's name and email address.
- Role: Displays their current role in the workspace. Workspace owners can change a member's role using the dropdown menu in this column.
At the right side of each row, there is a three-dot (•••) icon that allows owners to remove members from the workspace.
At the top right, the + Add member button allows owners to invite new people to the workspace and assign them any available role.
Guests tab
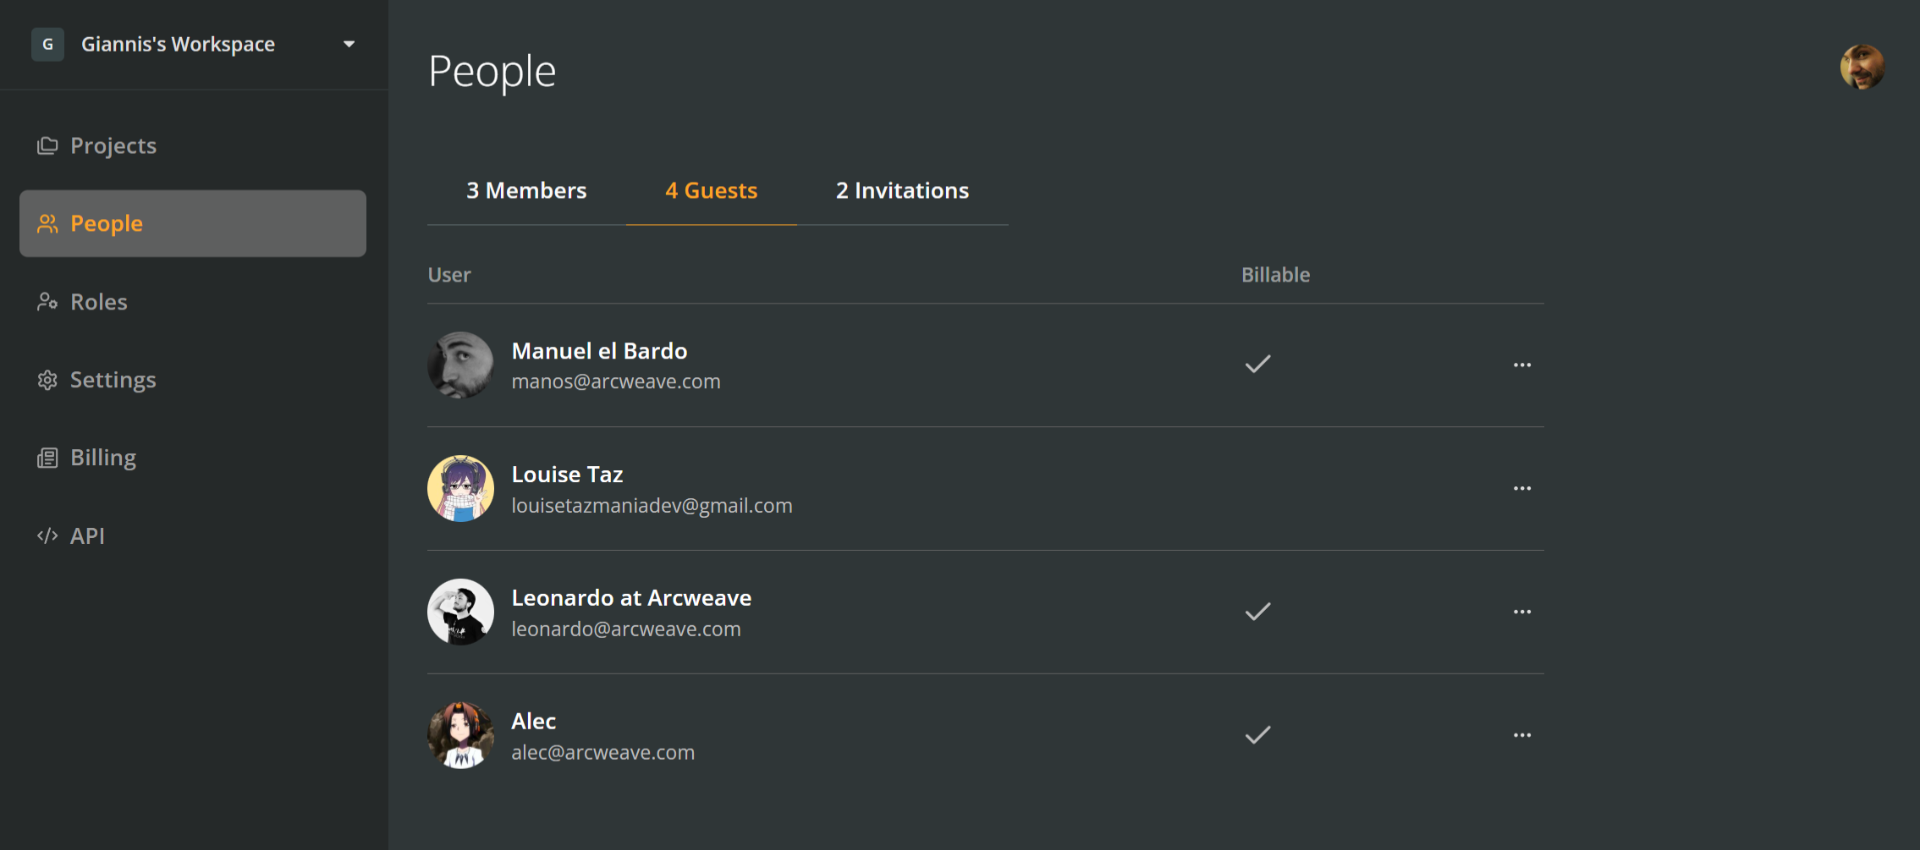
The Guests tab lists all guests who have been invited to specific projects within the workspace.
✅ Reminder: Guests are users with access limited to specific projects. They are not workspace members.
This tab has the following columns:
- User: Displays each guest's name and email address.
- Billable: Indicates whether the guest counts toward your workspace billing. Guest editors are billable; commenters are not.
At the right side of each row, there is a three-dot (•••) icon that allows workspace owners to:
- See and edit a guest's access to the workspace projects.
- Remove the guest from the workspace.
ℹ️ Note: To add guests, an owner or editor must invite them from within the project they should have access to.
Invitations tab
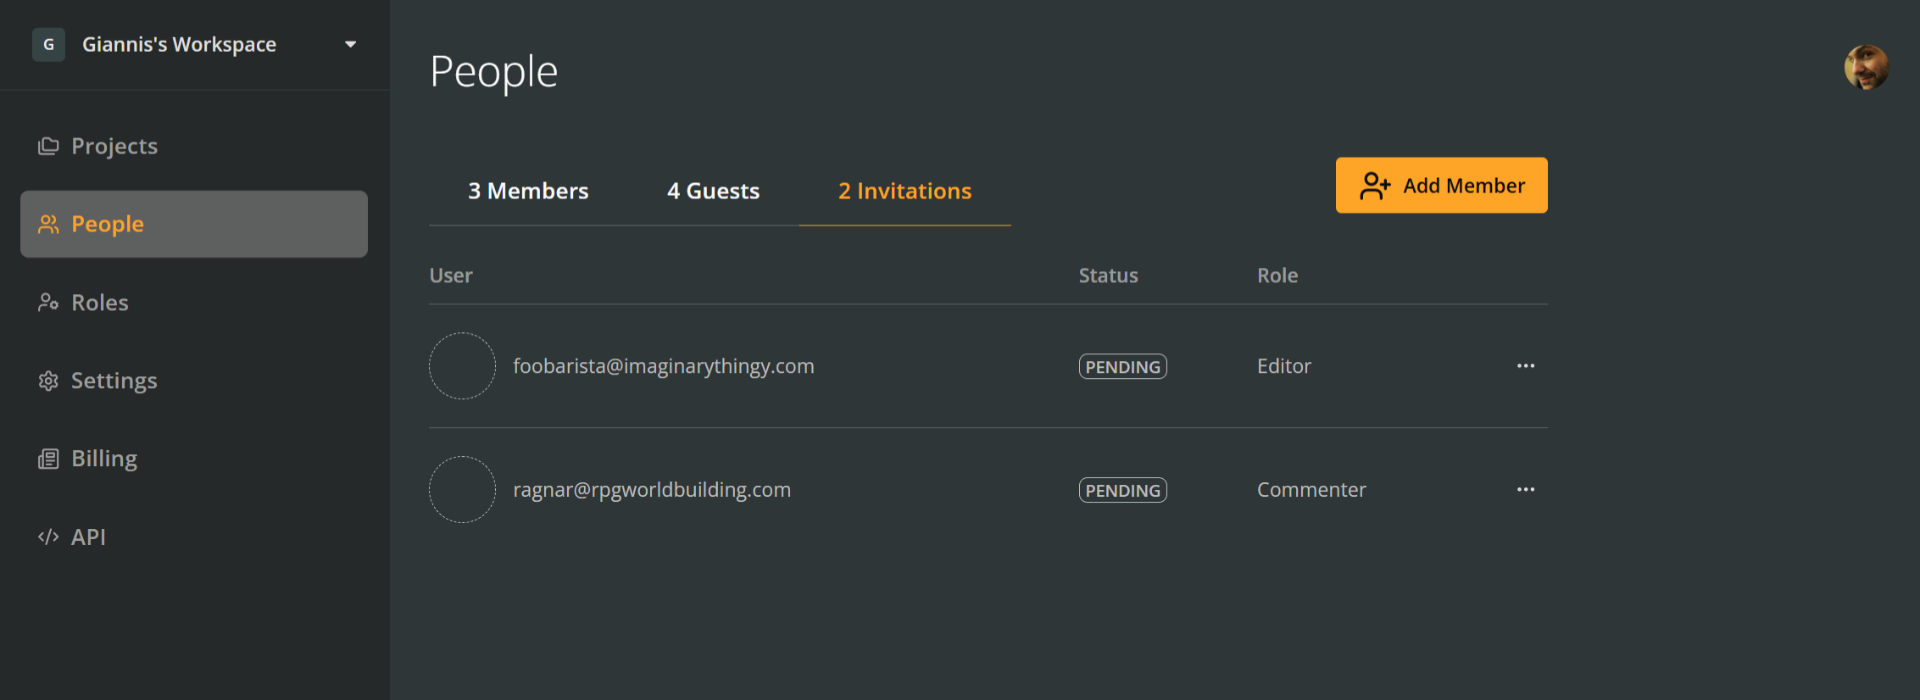
The Invitations tab shows all pending or past invitations to join the workspace as members.
- The User column shows the invitee's email address.
- The Status column indicates whether an invitation is pending, declined, or expired. (When an invitation gets accepted, the user is moved to the Members, above.)
- The Role column shows the role the invitee has been assigned.
- The final column provides options to Resend or Cancel the invitation.
This tab also includes a + Add member button, allowing workspace owners to send new invitations with predefined roles.
Add members
To add a user to a workspace, you must invite them and they must accept the invitation.
Send invitations
To send an invitation:
- Go to the workspace's People section.
- Click + Add member.
- Enter the user's email address.
- Select a role from the dropdown menu.
- Click Invite.
Until it gets accepted, the invitation will appear in the Invitations tab of the workspace's People section.
ℹ️ Inviting a member to a Pro or Team workspace affects billing. Once the invitation is accepted, Arcweave applies a prorated charge based on the number of days remaining in the current billing period. From the next scheduled billing date onward, the seat is included in the regular invoice, ensuring all charges remain aligned with the workspace's billing cycle.
✅ Basic workspaces can have an unlimited number of members.
Pending invitations
To manage pending invitations:
- Open the Invitations tab under People.
- Click the ••• menu next to the invite.
- Choose Resend invite or Cancel invitation.
ℹ️ To change a pending invitee's role, cancel the invitation and send a new one with the desired role.
Change member Roles
To change a member's role, follow the next steps:
- Go to the People section of your workspace.
- Use the Role dropdown next to the member's name.
- Select the new role.
ℹ️ A workspace must always have at least one Owner. If you are the only Owner, you must assign another before changing your own role.
Remove members
To remove a member:
- Go to the People section.
- Go to the Members tab.
- Click the three-dot (•••) menu next to their name and select Remove.
The user will be removed from the workspace. Their seat remains available for another member to be added, until the end of its billing cycle.
Add guests
Workspace guests are users invited to specific projects and their access is limited to those. They are not workspace members, so they cannot be invited from the People section of a workspace.
To add guests, an owner or editor must invite them from within a specific project.
Remove guests
To remove a guest from the workspace:
- Go to the People section.
- Go to the Guests tab.
- Click the three-dot (•••) menu next to their name and select Remove.
The user will be removed from the workspace. Their seat remains available for another member or guest to be added, until the end of its billing cycle.
Edit guest access
To edit a guest's access to the workspace projects:
- Go to the People section.
- Go to the Guests tab.
- Click the three-dot (•••) menu next to their name and select See access.
- Edit the user's access to any project.