Elements
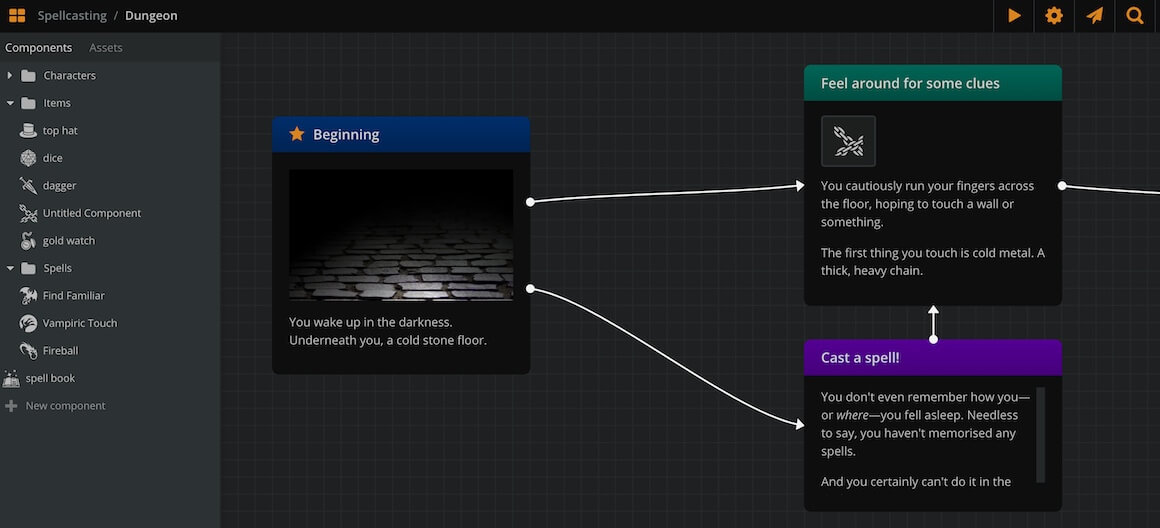
Elements are the most important flowchart items. They are the building blocks of your flowcharts, as each of them contains a small fragment of your story. By connecting elements together with connections, you create your story flow, allowing the player to make choices and progress through your game.
You can play-test the flow of your elements and connections on Play Mode.
Create elements
There are 3 ways to create an element:
- Double-click on an empty area of the current board.
- Right-click on an empty area of the current board and select Create Element from the menu.
- Drag and drop the New element icon (at the left of the bottom menu) on a empty area of the current board.
Select elements
To select an element, simply click on it. To select multiple elements, hold Shift or Ctrl/Cmd and δο either of the following:
- Click each element consecutively.
- Click and drag to create a selection rectangle.
✅ You can similarly select connections, notes, branches, and jumpers.
Delete elements
To delete an element, you can do either of the following:
- Select the element and press Delete or Backspace.
- Right-click on it and select Delete from the menu.
Edit elements
Each element has a title (the top, coloured part) and a content area (the main black part). To edit either, simply double-click on it.
To cycle editing between title and content, press the tab key.
To exit editing mode press Esc or click on an empty area of the board.
Formatting menu
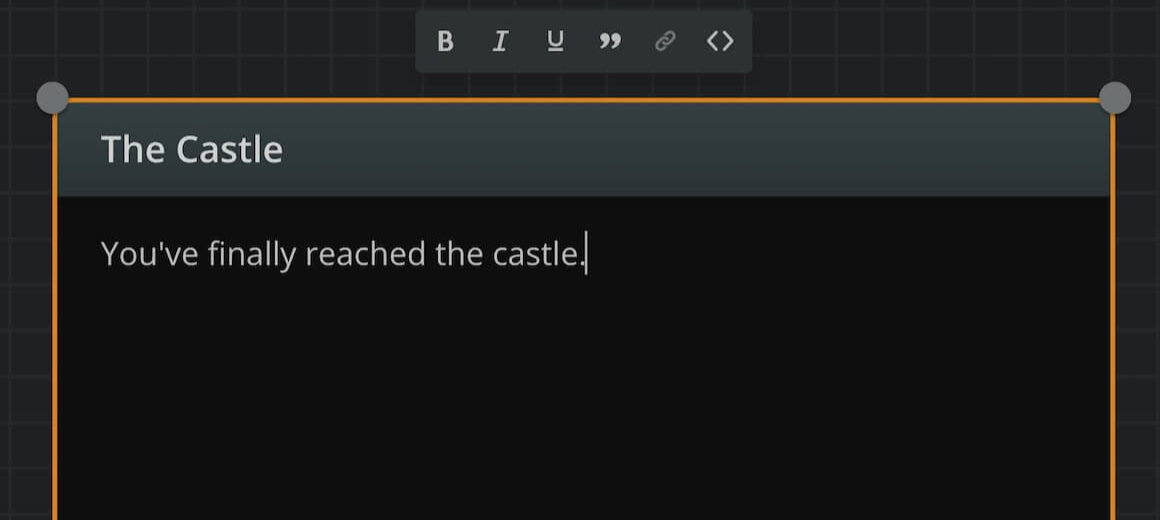
Elements support rich text format in both title and content. From the formatting menu, choose bold, italics, or underline.
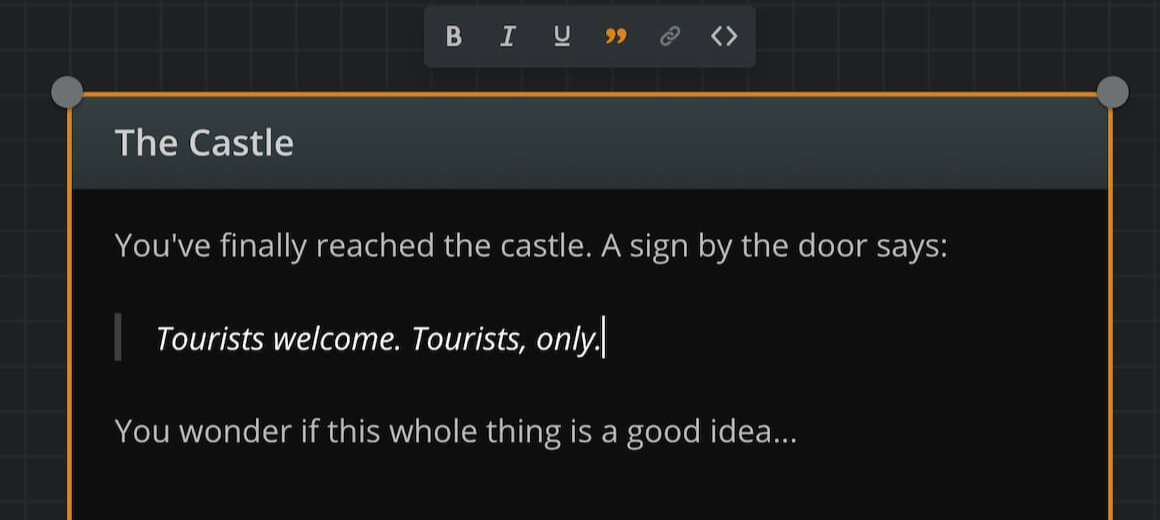
Format a paragraph as blockquote, to make its text stand out as a quote or a sign.
You can also embed a link to a selected piece of text.

Markdown formatting
Type *one asterisk* or _one underline_ and it will automatically transform to italic text while you type.
Type **two asterisks** or __two underlines__ and it will automatically transform to bold text while you type.
You may also use the usual shortcuts of Ctr/Cmd+B, Ctr/Cmd+I and Ctr/Cmd+U for bold, italic, and underlined text respectively.
Resize elements
To resize an element manually, select it and drag any of its corners or edges.
To set it to auto-resize, so it continuously adjusts to fit its content, double-click any edge or corner handle.
Change element theme
To change the color theme of an element, right-click on it and select one of the available colors from the menu.
Set element cover
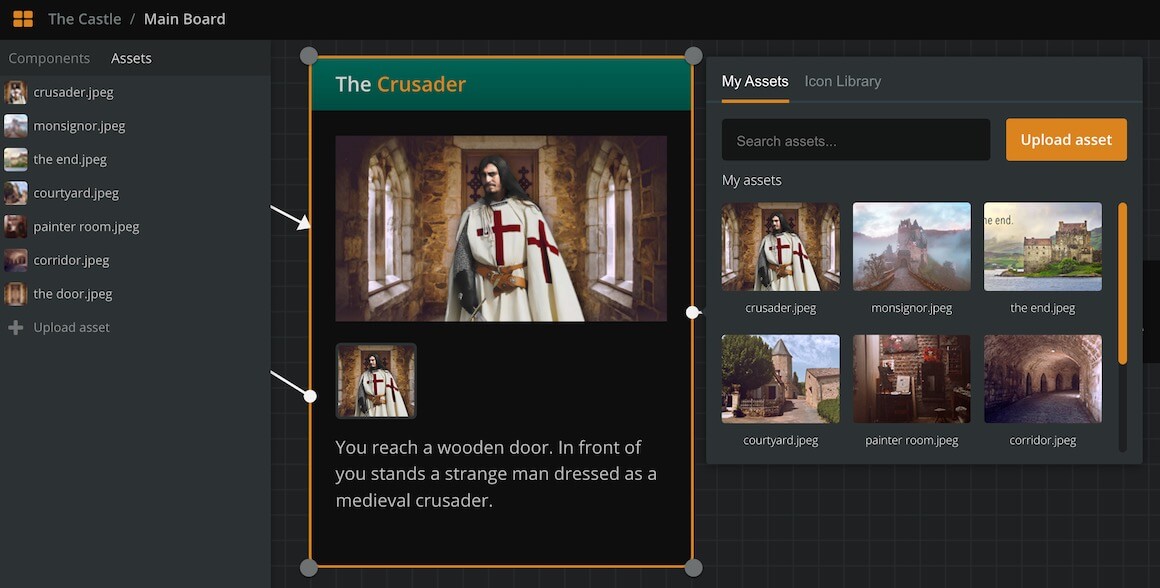
Elements can have an image or video asset as cover. On Play Mode, the image or video renders above the element's text content.

As covers, you can use your project's image assets, video assets, icons from Arcweave's icon library, or emebed a Youtube video. To assign a cover image from either sources:
- Right-click on the element.
- Select Set cover.
- Select a tab: My Assets or Icon Library or Embed.
- Choose an image or video asset, an icon, or paste a youtube video URL respectively.
ℹ️ To use your own images in a project, you must upload them as assets.
Another way to assign a cover is to drag an image or video asset from the Assets section of the sidebar straight into the desired element.
To change an element's cover, select Set cover again or drag a new asset into it.
To remove an element's cover, right-click on the element and select Remove cover.
Audio attachments
Elements can optionally have one or more attached audio assets. The audio assets play during Play Mode, upon the element's rendering, as loops or one-shots.
Attach audio assets
To attach an audio file to an element, take the following steps:
- Upload the audio file to your project (see Assets).
- Locate the asset in your project's Assets section.
- Drag and drop the asset from your Assets section into the element.
Once attached, click on the asset to open its settings menu, where you can set its behavior.
Move audio assets
To move audio assets between elements, drag them from one element and drop them into another.
Remove audio assets
To remove an attached audio asset, drag and drop it from the element to an empty area of the board.
ℹ️ Removing an audio asset from an element simply removes the reference and does not delete the asset.
Attach components
You can attach components to an element to visually reference them in the story flow, both in the boards and in Play Mode. See components for all information.
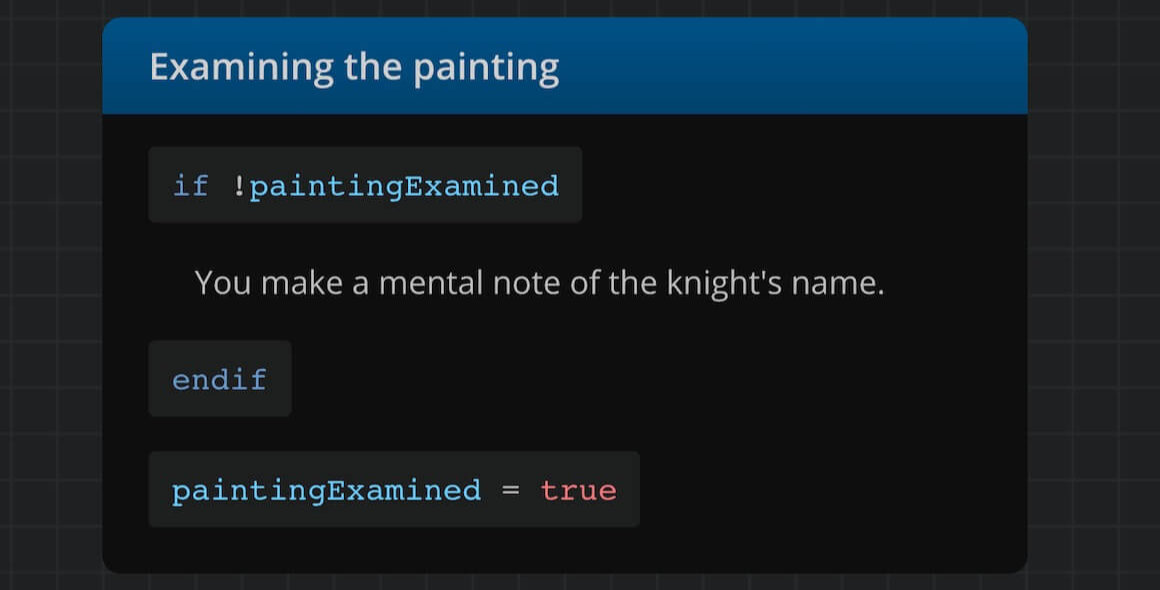
Add arcscript
Finally, you can add arcscript segments to your element content, assigning values to variables or manipulating the text output.
To insert an arcscript segment into an element's content:
- Double-click the element to enter content editing mode.
- Place the cursor on the line where you want to insert the arcscript segment.
- Click the Arcscript segment icon in the formatting toolbar.
- Press Enter to exit the arcscript segment and continue writing in the next line.
✅ You can also toggle an arcscript segment using the shortcut Ctrl/Cmd + Shift + C.
Element properties
To access an element's properties, right-click the element and select Properties.
This opens the element's Properties panel, which has the following tabs:
- Attributes: The element's attributes, if any.
- Details: Element ID and word count.
Attributes
An element's Attributes tab contains the element's attributes, if any. An element can hold the following 4 types of attributes:
- Rich text
- String
- Component list
- Asset list
ℹ️ The same types of attributes are also available to components.
See attributes for all information.
Details
An element's Details tab contains the following information:
Element ID
Each element has a unique identifier in the form of:
81a30674-aa09-4eb8-8484-59298d37f984 (version 4 UUID)
Uses of this element ID include:
- Accessing the element in the project's JSON.
- Targeting the element for CSS styling in the Style Editor; see the CSS basics guide.
Word count
The element Details tab includes a word count breakdown:
- Words in title
- Words in content
- Total words
ℹ️ Word count does not include arcscript segments in the element's content (see Add arcscript above).