Assets
Assets are media files you can upload to your Arcweave project to enrich the interactive experience with audiovisual elements. Arcweave supports the following asset types:
- Image assets: Used as covers for elements and components.
- Audio assets: Attached to elements to play automatically in Play Mode, adding sound effects, background music, or narration.
- Video assets: Attached to elements to play automatically in Play Mode, enabling video sequences, visual storytelling, or interactive movies.
Assets help clarify your story, enhance immersion, and strengthen emotional impact.
Assets section
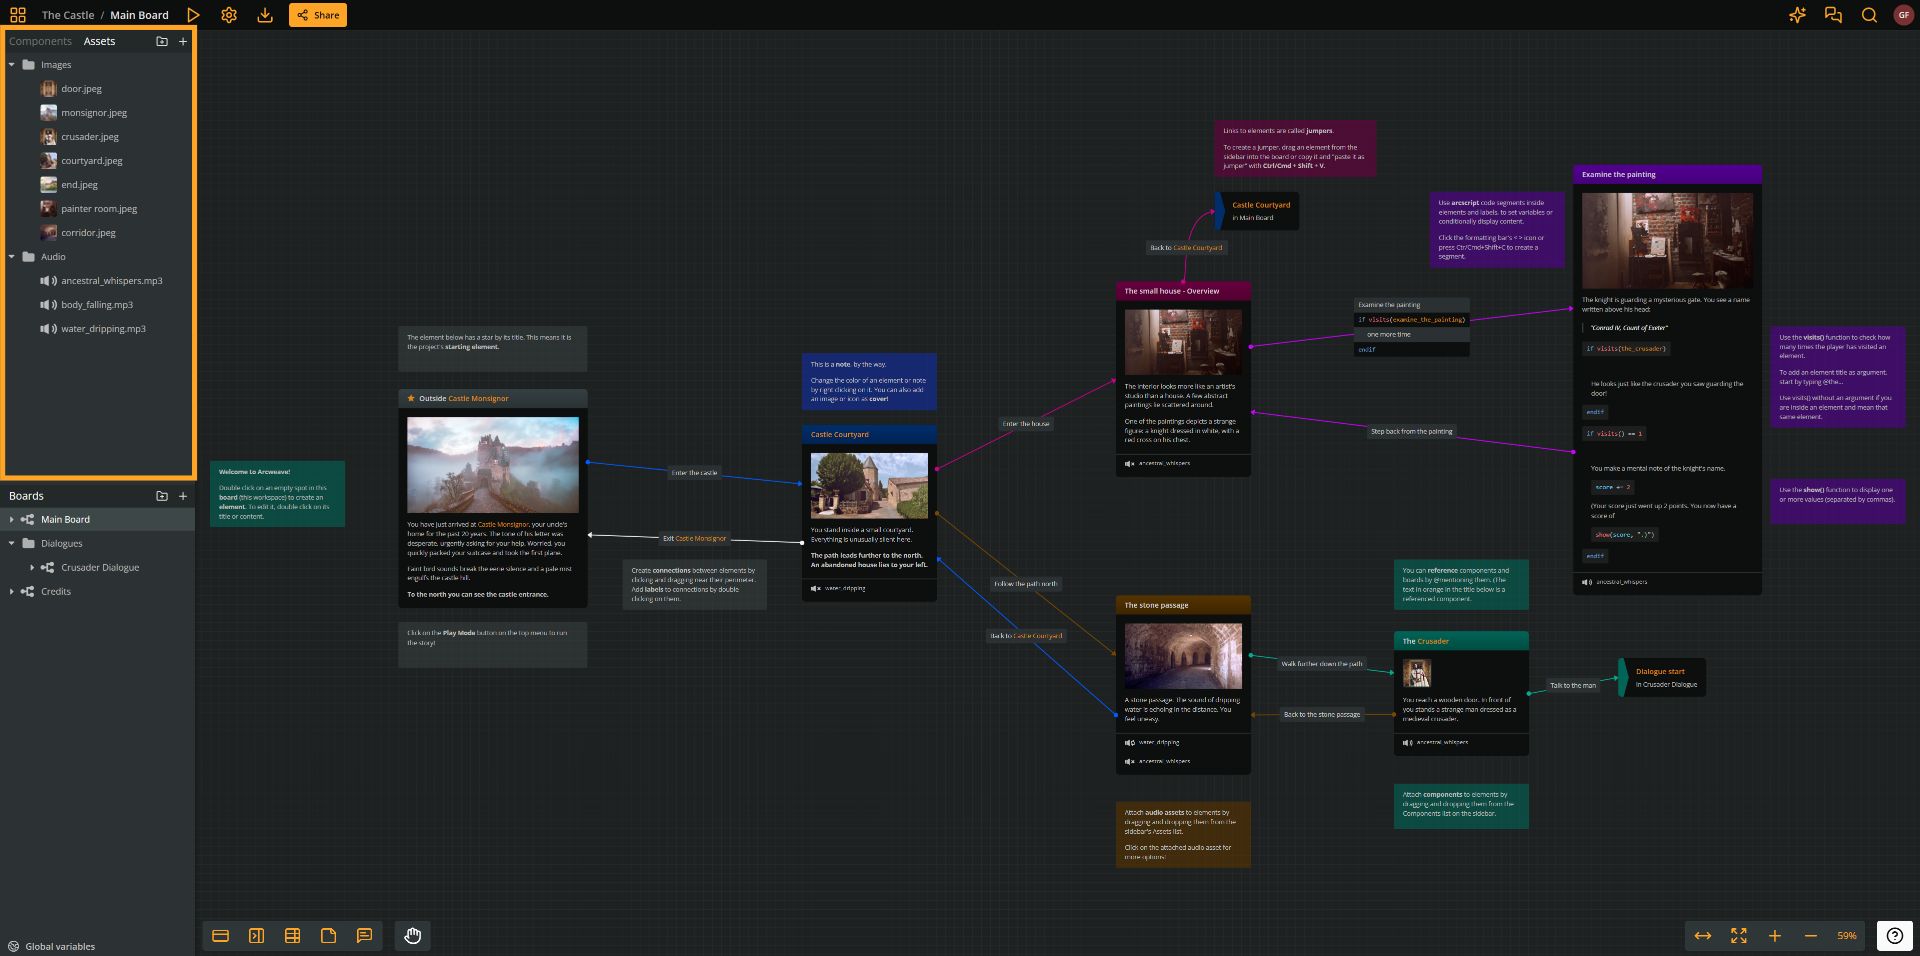
Inside any project, you can view and manage all uploaded assets and folders in the Assets section. This is located in the upper half of Arcweave's left sidebar, under the Assets tab.
Asset folders
Arcweave allows you to create folders to organize your assets efficiently. You can build a custom folder structure to keep your project files clear and manageable.
Upload assets
From file manager
The simplest way to upload assets is by dragging media files from your operating system's file manager into Arcweave's window. You can:
- Drop anywhere: Adds the files to the root of the Assets section.
- Drop into a specific position: Adds the files to a specific folder or position within the Assets list.
From Assets section
You can also upload files directly within the Assets section using the Upload asset options.
Upload assets to the top of the Assets section
To upload a new asset at the top of your Assets list:
- In the Assets section header, click Upload asset (+ icon).
- Select one or more files from your device.
Upload assets to the bottom of the Assets section
To upload a new asset at the bottom of your Assets list:
- Right-click an empty area in the Assets section.
- Select Upload new asset (+ icon).
- Select one or more files from your device.
Upload assets above existing assets
To upload a new asset above an existing one:
- Right-click the existing asset's name.
- Select Upload new asset... from the menu.
Or:
- Hover the mouse cursor over the existing asset's name.
- Click the (+) icon that appears.
- Select Upload asset... from the menu.
Upload assets into existing folders
To upload a new asset inside a folder:
- Right-click the folder's name.
- Select Upload new asset... from the menu.
Or:
- Hover the mouse cursor over the folder's name.
- Click the (+) icon that appears.
- Select Upload asset....
Upload limits
Each workspace plan includes specific file sizes and storage limits:
| Plan | Max file size | Total storage per project |
|---|---|---|
| Basic | 5 MB | 50 MB |
| Pro | 100 MB | 1 GB |
| Team | 100 MB | 10 GB |
⚠️ If I downgrade my plan, what happens to my assets? Existing assets remain in your project, but you cannot upload new ones. See the Introduction section, on how to manage your subscriptions.
Create folders
From Assets section
You can create asset folders directly from your project's Assets section.
Create a folder at the top of the Assets section
- Right-click an empty area in the Assets section.
- Select Create folder.
Create a folder above an existing asset
- Right-click the asset's name.
- Select Create folder from the menu.
Or:
- Hover the mouse cursor over the asset's name.
- Click the (+) icon that appears.
- Select Create folder.
Create a subfolder inside an existing folder
- Right-click the folder's name.
- Select Create folder from the menu.
Or:
- Hover the mouse cursor over the folder's name.
- Click the (+) icon that appears.
- Select Create folder.
Replace assets
You can replace an existing asset with a new file. Arcweave automatically updates all instances of that asset throughout the project, saving you from manually reassigning it.
To replace an asset:
- In the Assets section, right-click the asset you want to replace.
- Select Replace asset.
- Select a new file from your device.
Delete assets or folders
To delete an asset or folder:
- Open the Assets section.
- Right-click the asset or folder.
- Select Delete.
ℹ️ Deleting an asset removes all its instances from elements and components.
⚠️ Deleting a folder also deletes all assets and subfolders contained within it.
Preview assets
To preview an asset, click it in the Assets section. Each asset type has its own preview interface: see image, audio, and video documentation for details.
Use assets
After uploading, you can use assets in the following ways:
- Image assets: Set as covers for elements or components.
- Audio assets: Attach to elements to play automatically in Play Mode.
- Video assets: Set as covers for elements to play in Play Mode.