Flowchart analysis
The heart of any Arcweave project is its flowchart, a visual representation of your story, with its branching flow, player choices, and logic. Play Mode follows the structure of your flowchart and lets you prototype your project as a choice-based game.
This section walks you through the key building blocks of the flowchart using The Castle, the built-in example project in Arcweave.
Elements & connections
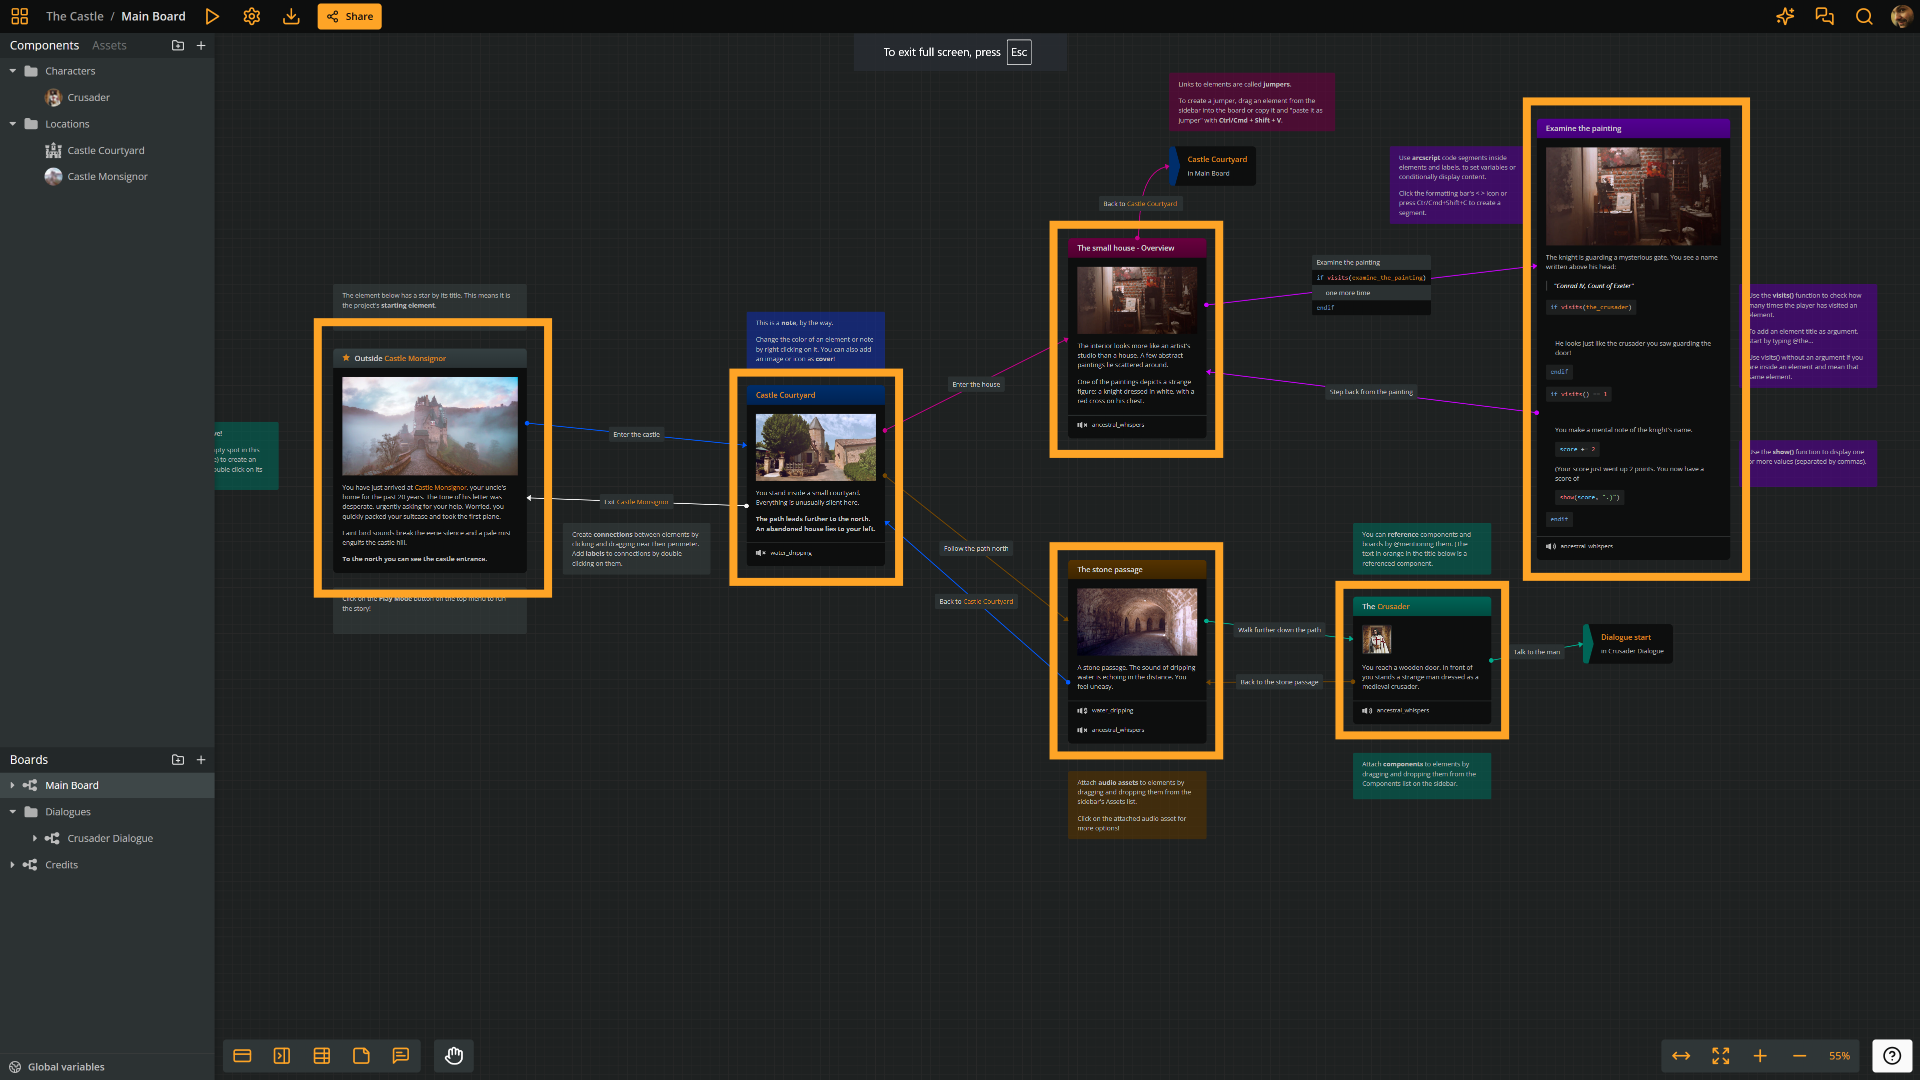
In the screenshot above, notice how the example's main flowchart consists mostly of elements linked together with arrow connections. You design your story so it progresses from element to element, as the player clicks on options.
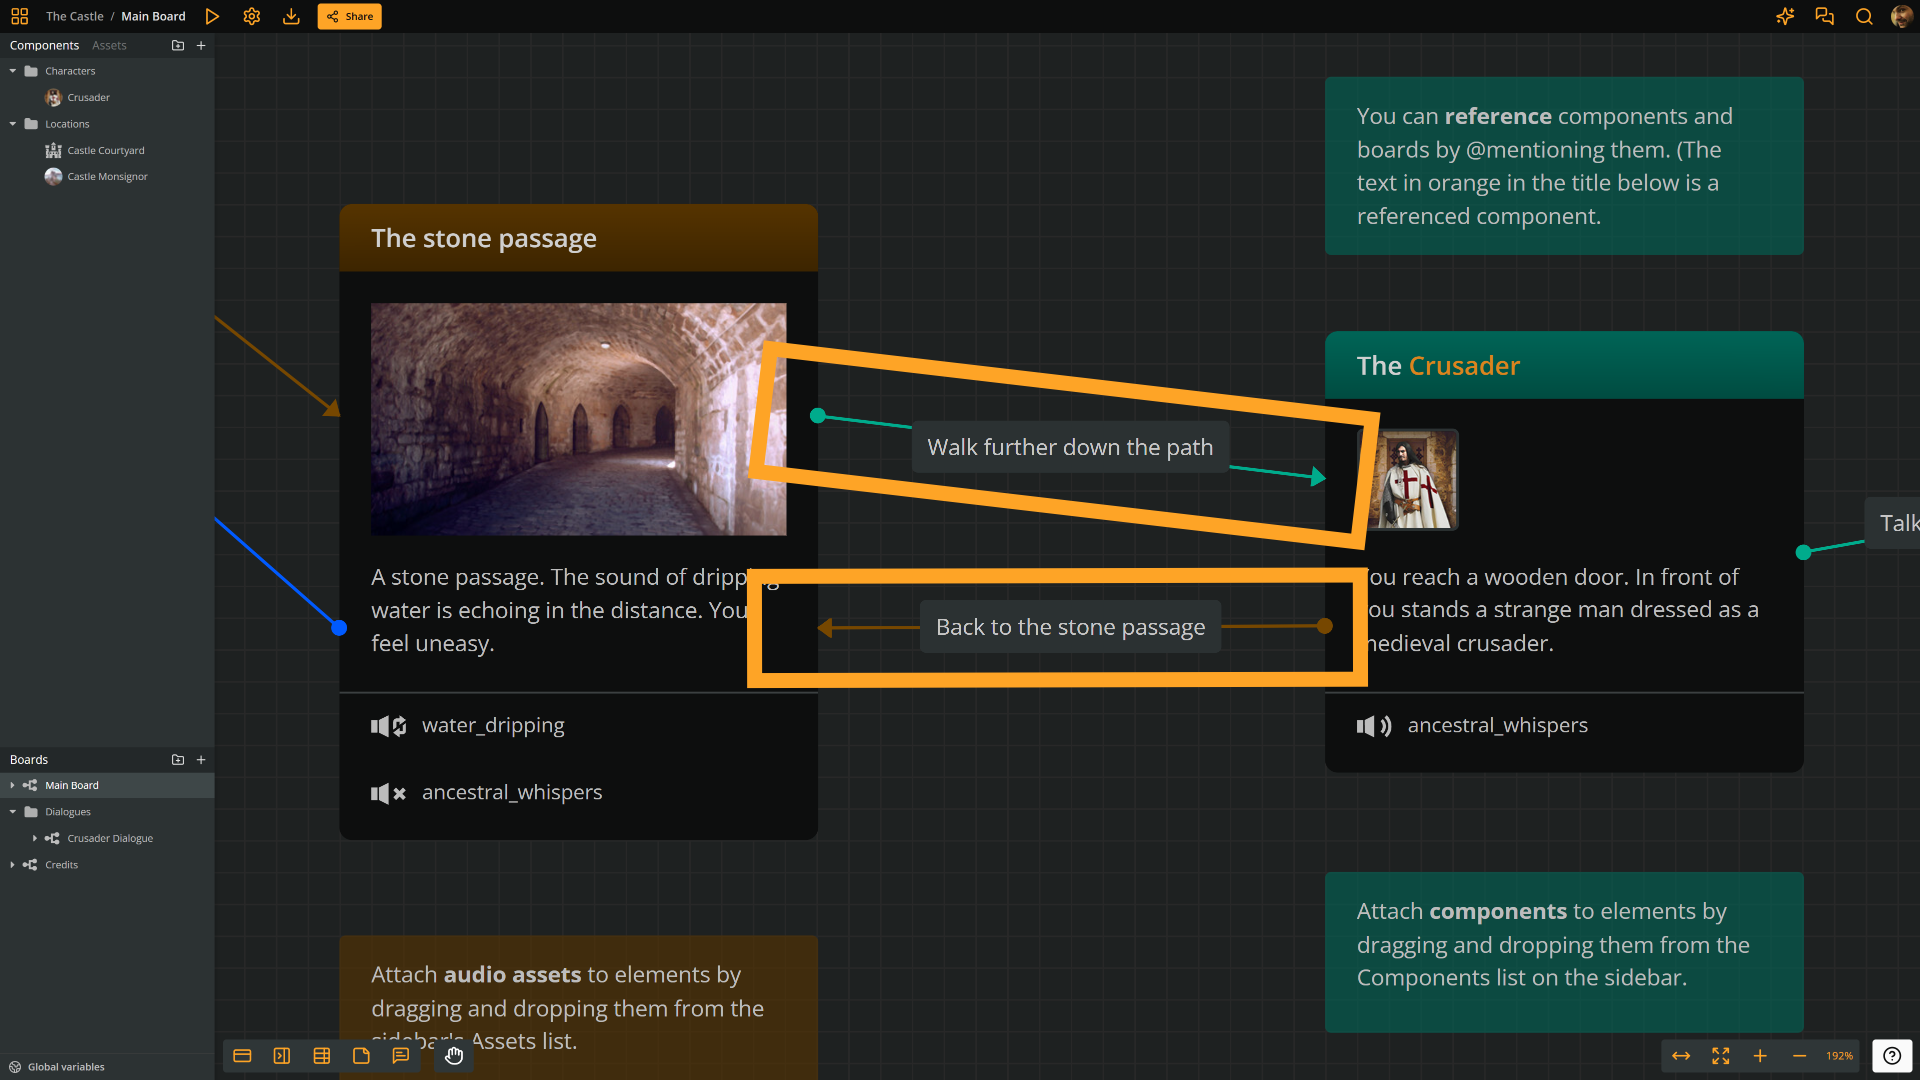
Connections can have labels, as shown in the screenshot above. It is not mandatory, but it is the best way to write clear text for the player's options. Connection labels can include.
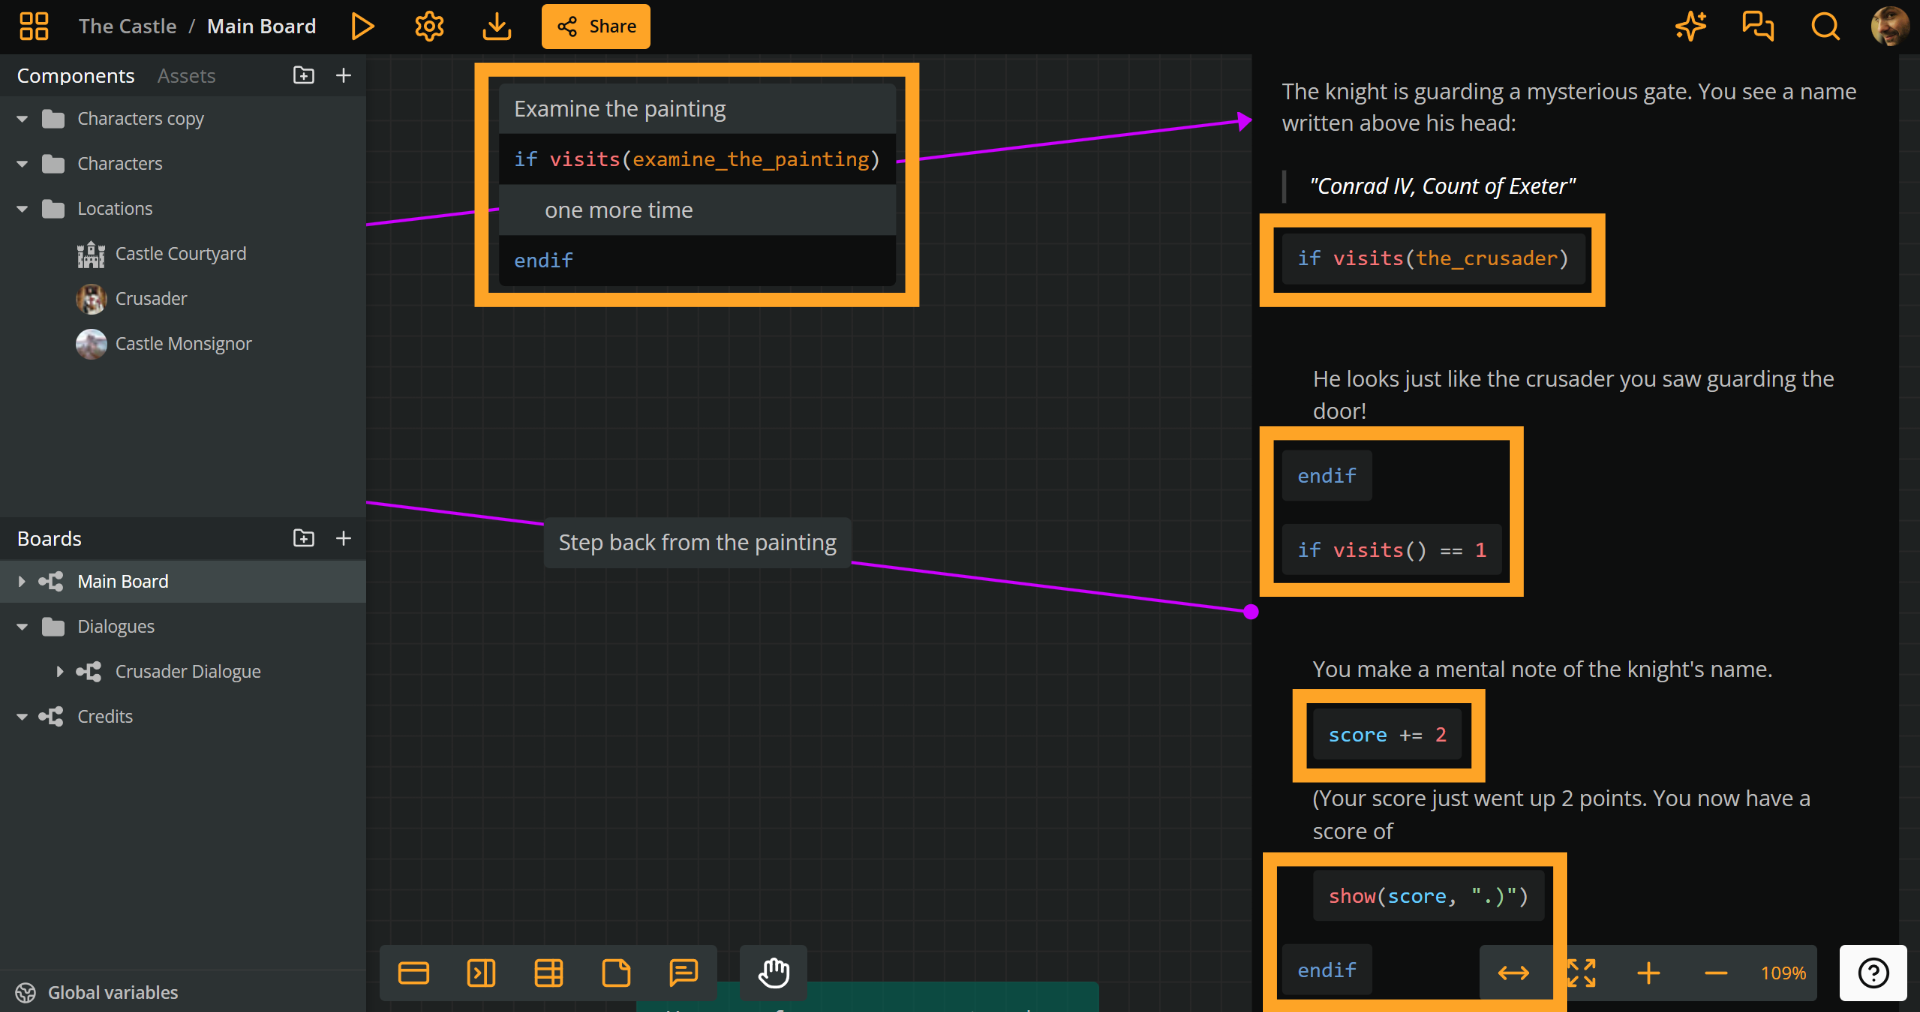
Both elements and connection labels can include arcscript. Don't be surprised if you come across snippets of code, like the examples shown in the image below.
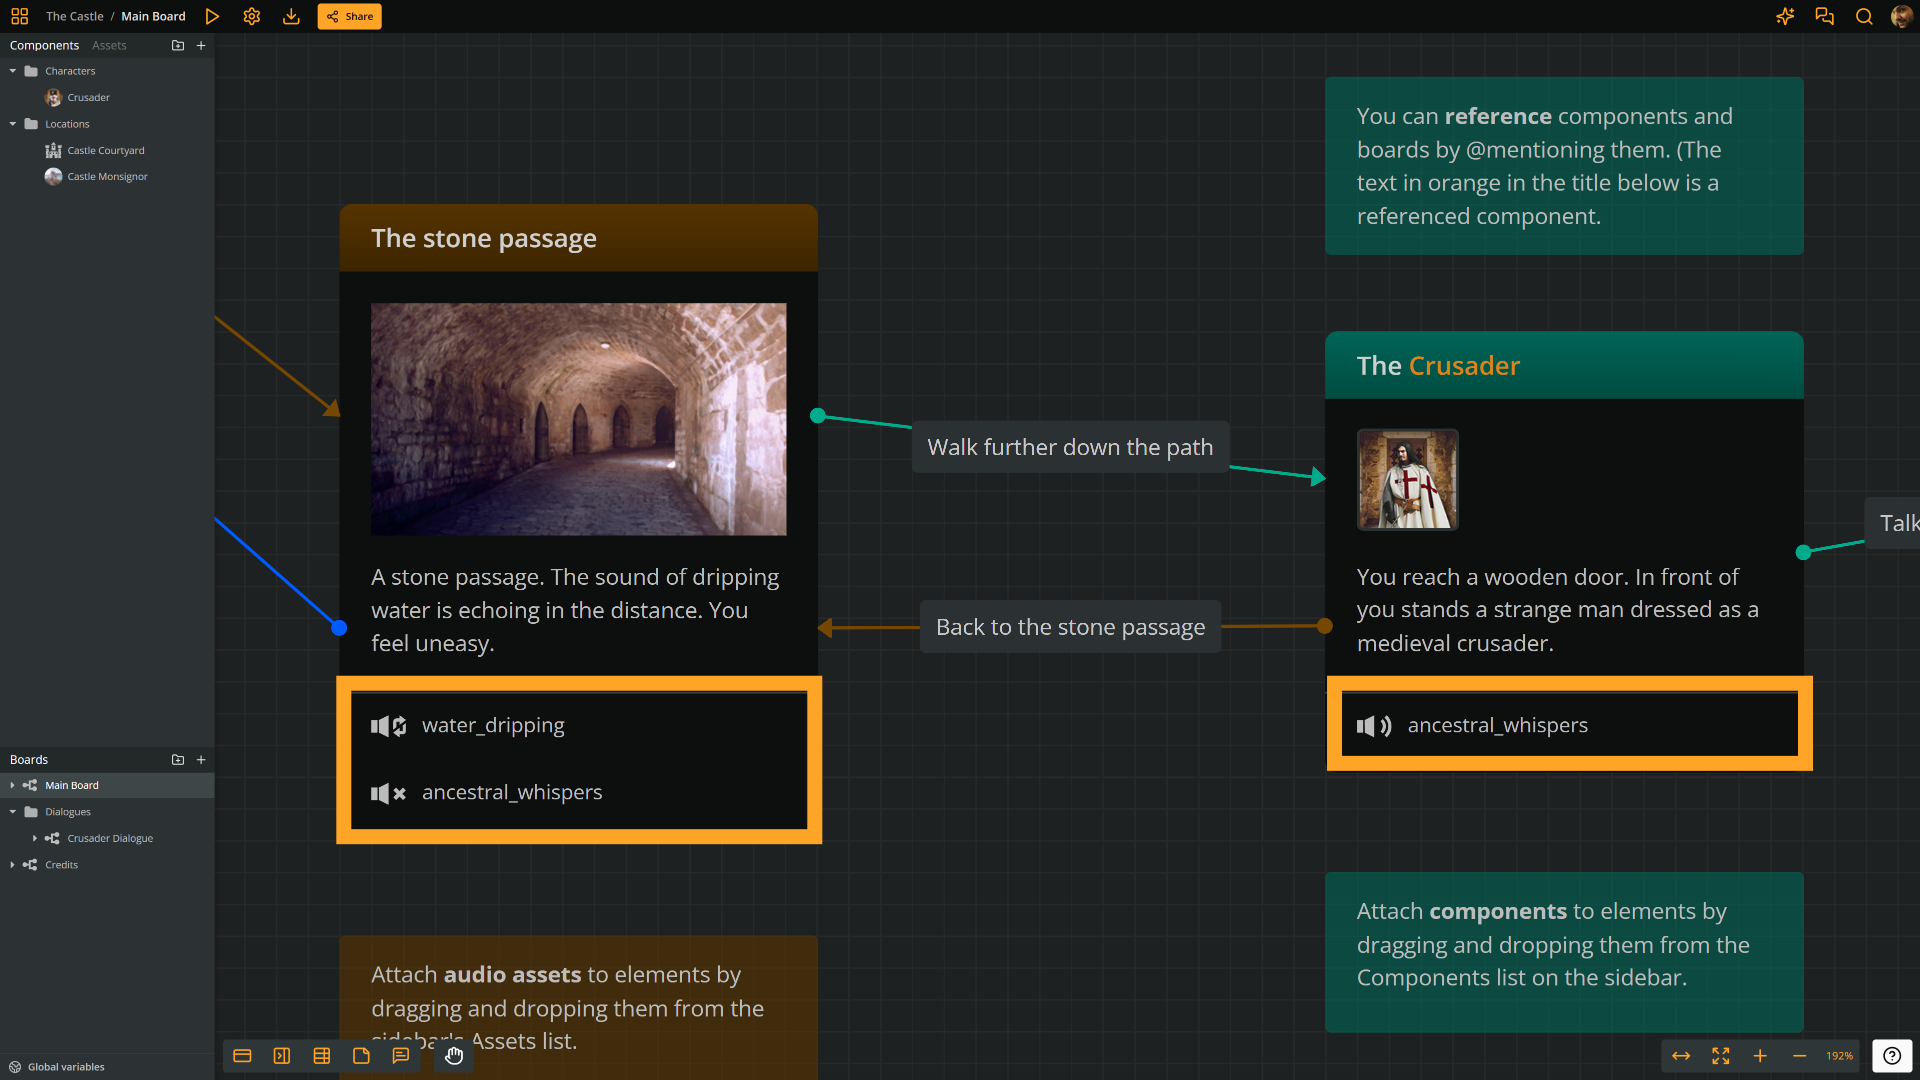
Attached assets
Assets allow you to prototype the interactive experience with rich audiovisual feedback. By attaching images, audio, and video assets to your flowchart's elements, they appear in Play Mode, when each element loads.
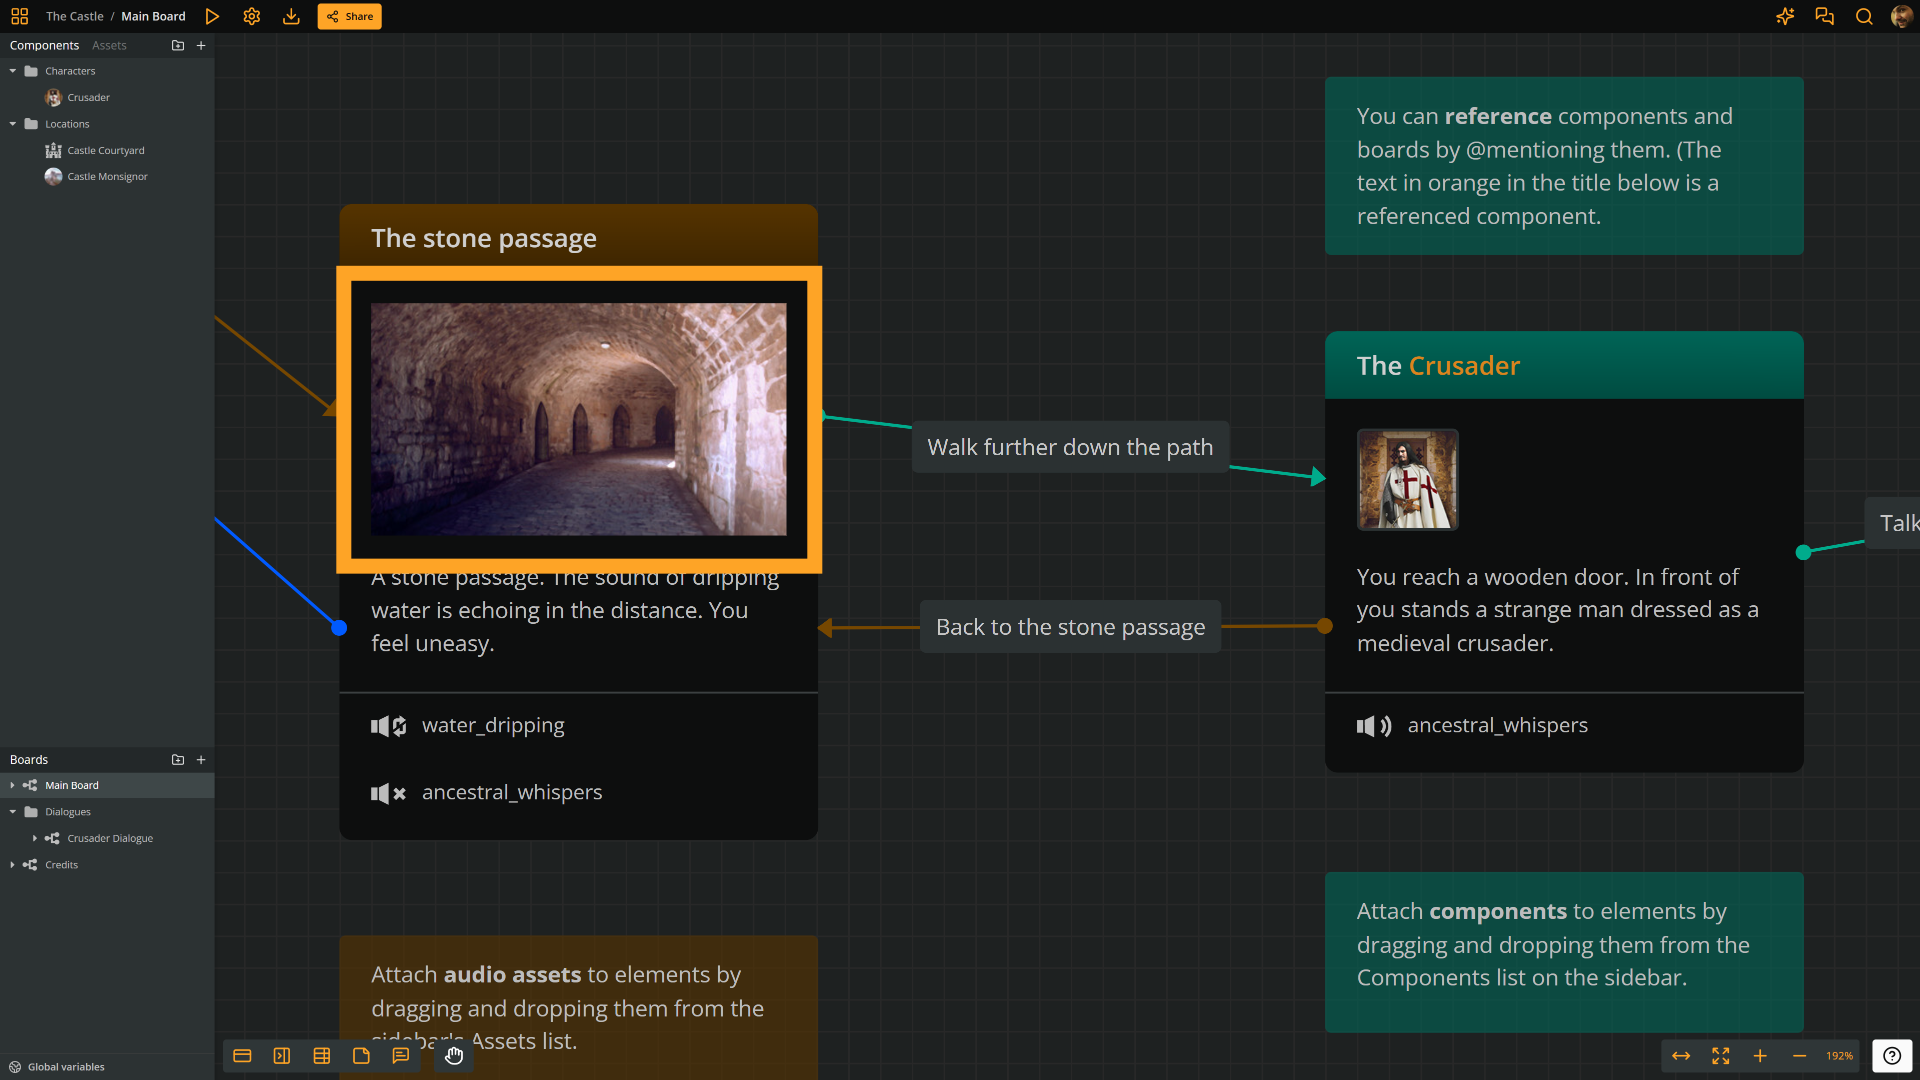
Images
In The Castle, many elements have an attached image asset that serves as a cover: a visual that spans the full width of the element, helping set the tone or context, as shown in the screenshot below.
Audio
Some elements can also include one or more audio assets. These may be music clips, ambience tracks, or sound effects that play or stop when the flow reaches the element.
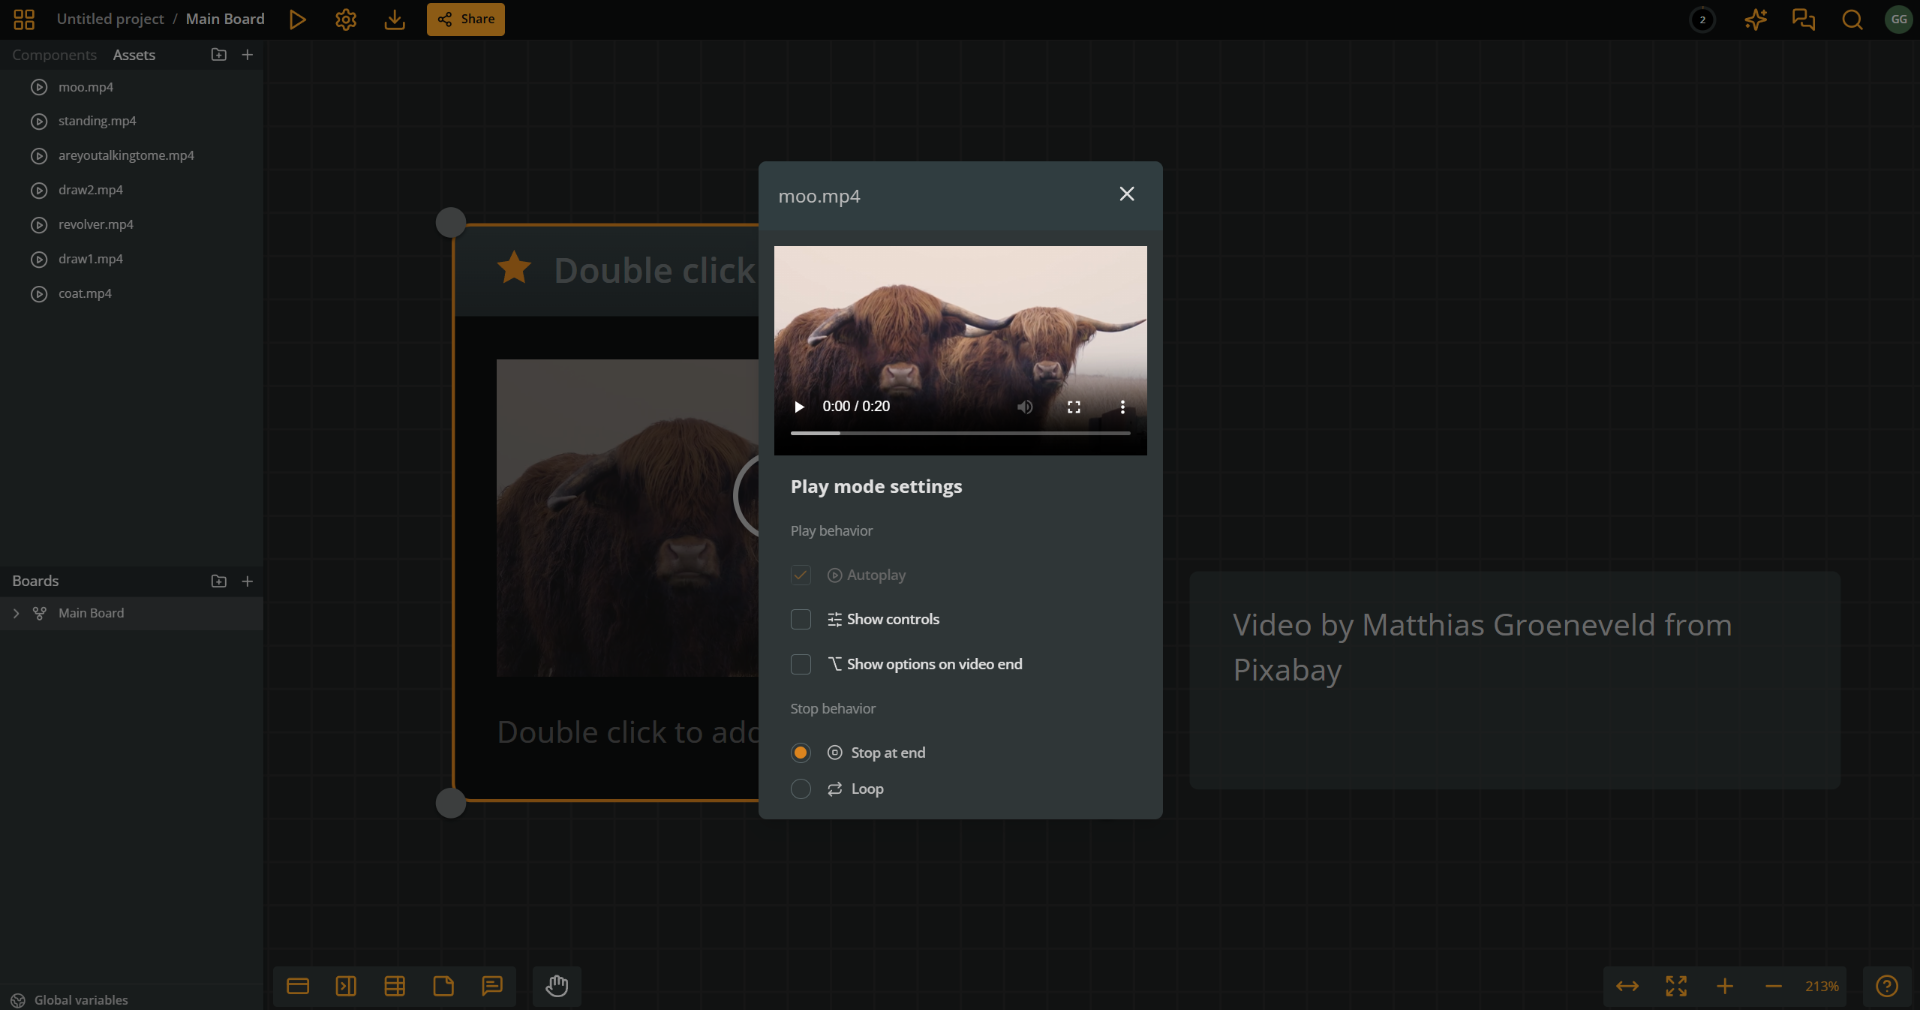
Video
Finally, instead of an image, you can attach a video asset to an element. The video occupies the same area an image would and begins playing when the element loads in Play Mode.
Attached components
Elements can also take components as attachments. Components are great for keeping information about your story objects organized.
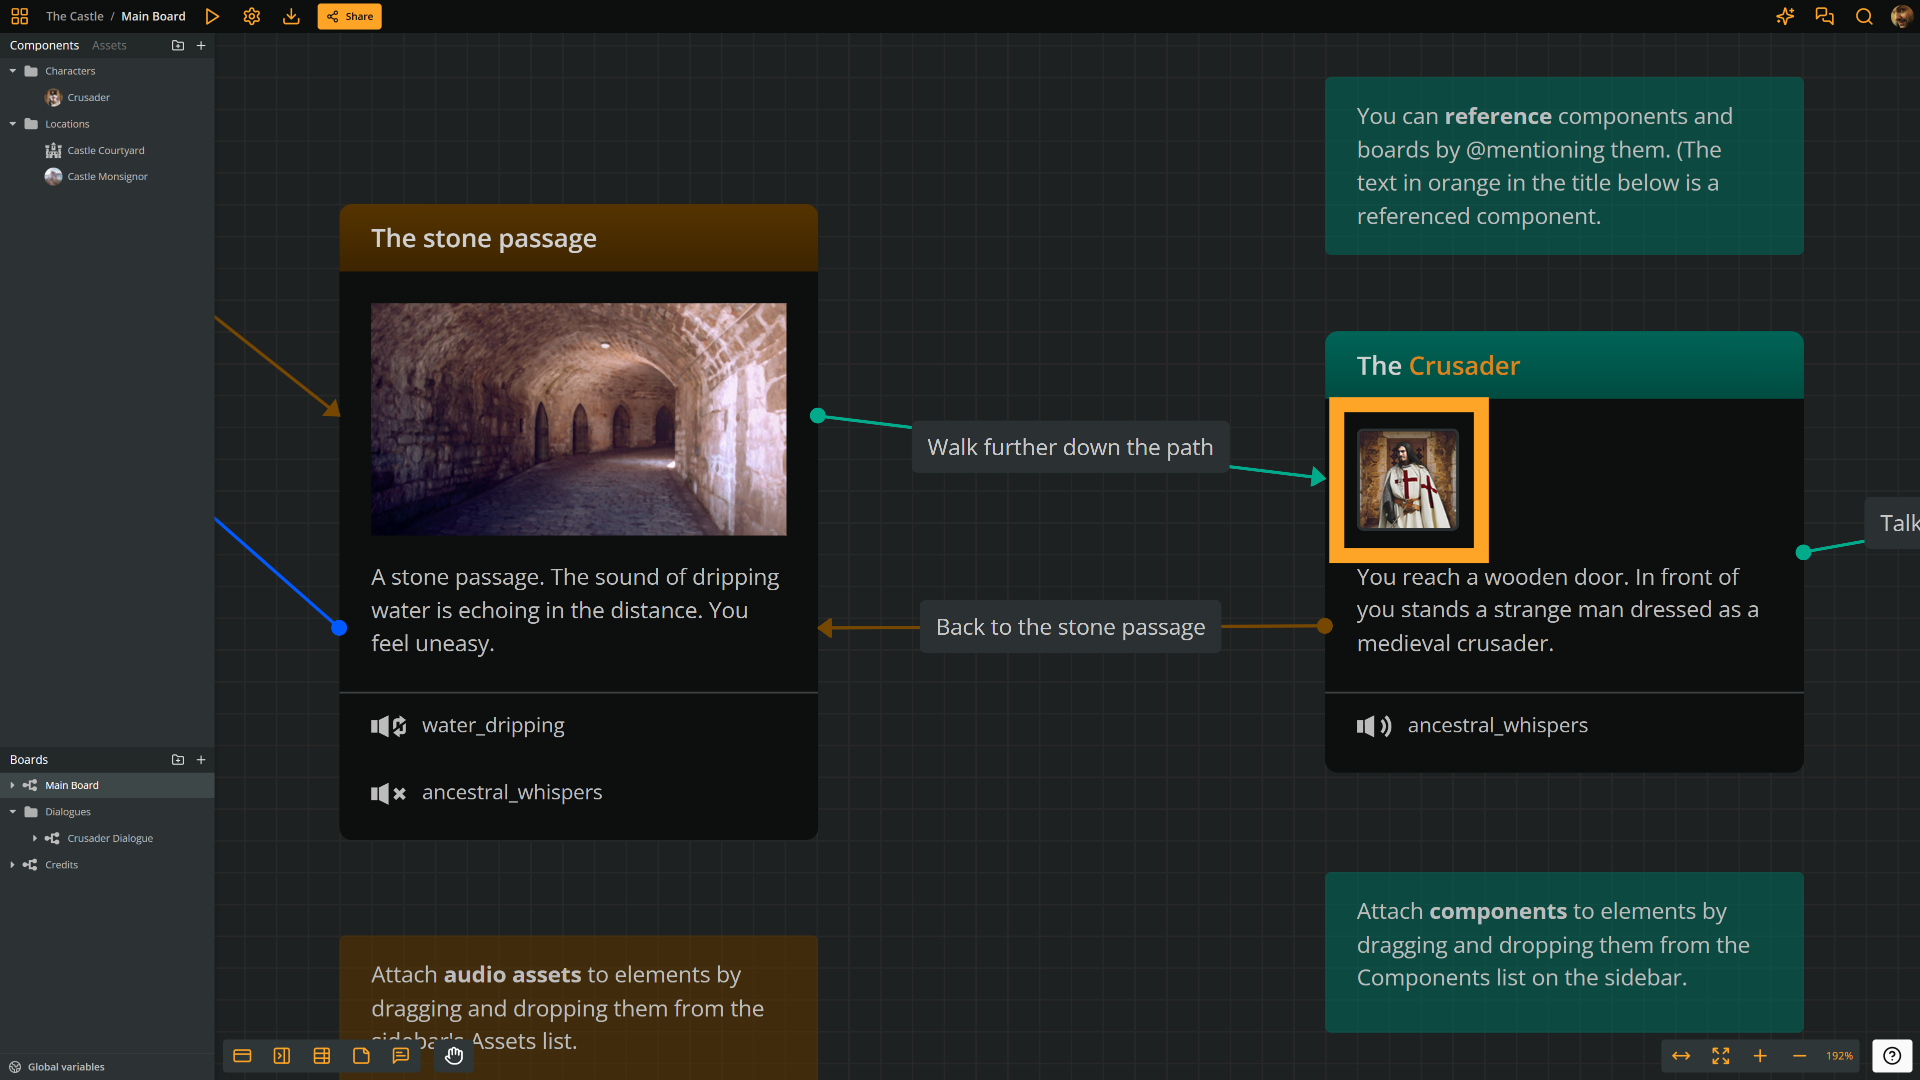
In the screenshot above, the attached component represents one of the story's characters. Click the component to open it.
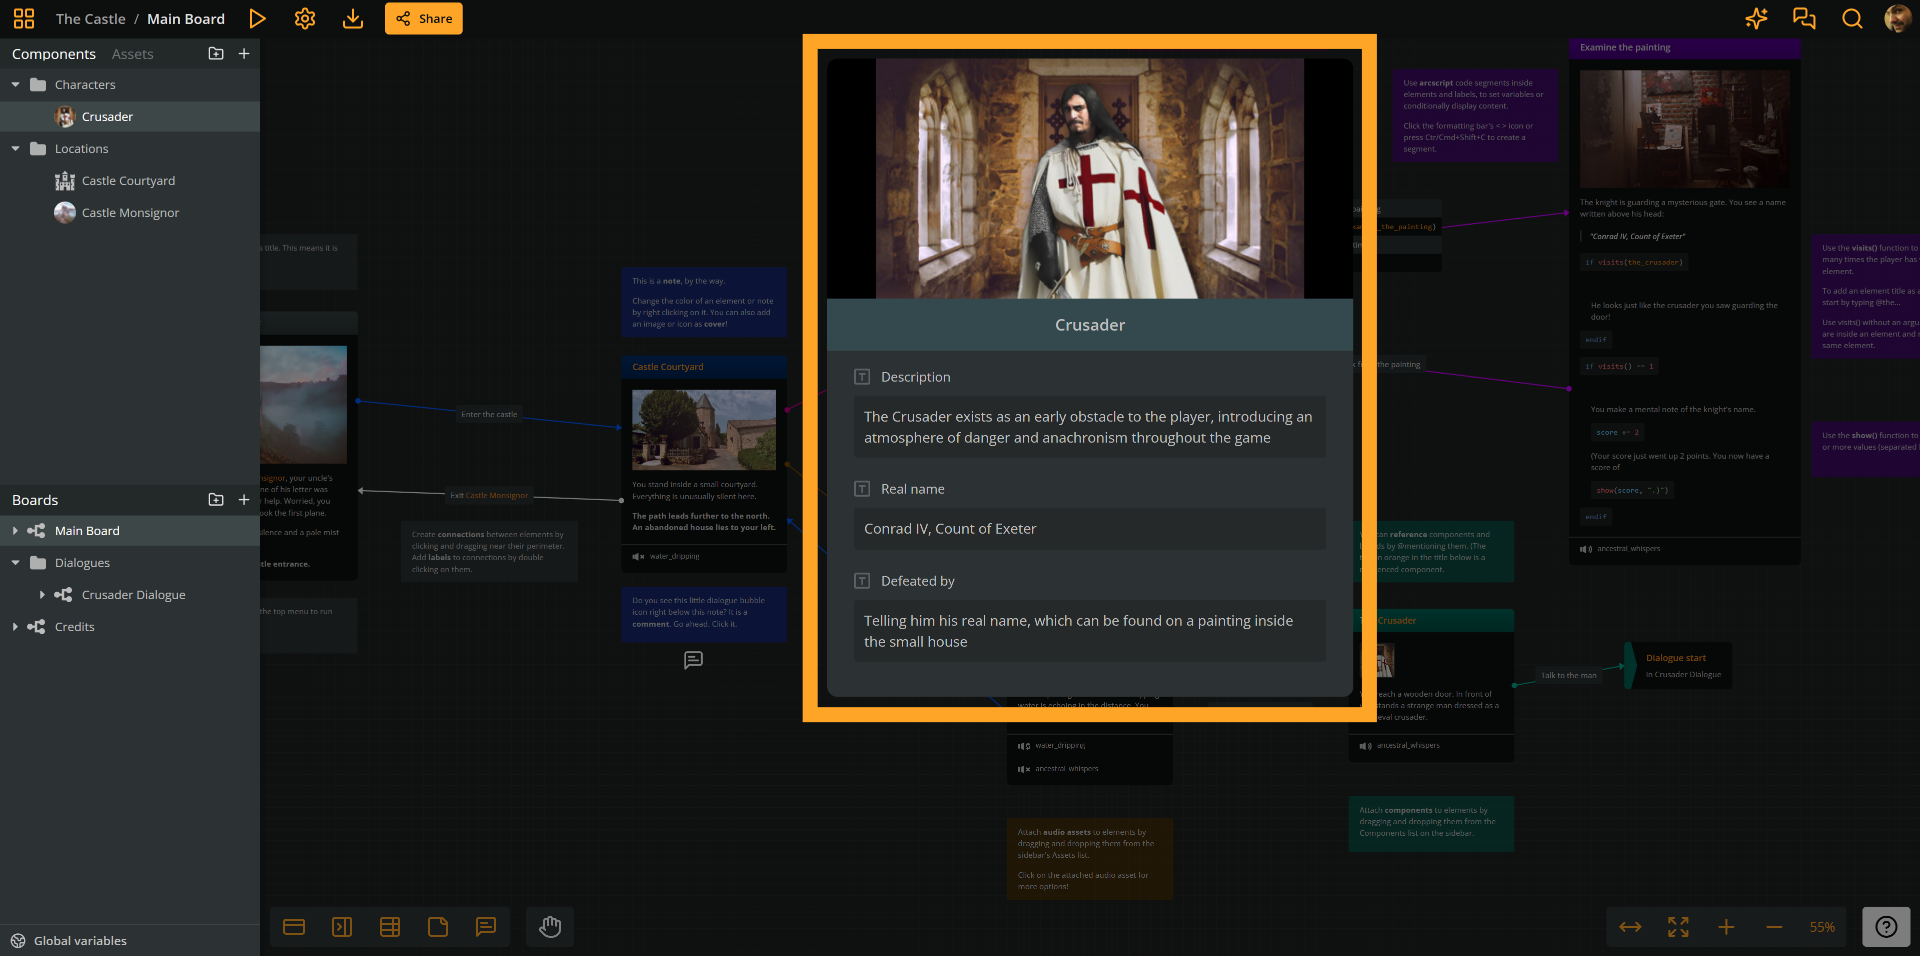
When opening a component for editing, you can also add and edit its attributes.
✅ Components can be very useful when integrating Arcweave with game engines.
Jumpers
Jumpers let you connect elements that are either on different boards or too far apart on the same board. Use them to keep your flowchart tidy and easy to follow.

In the screenshot above, the jumper sends the flow to an element that is in the board Crusader Dialogue, as shown on the sidebar.
Branches
Branches add logic to your flow. They route the story based on conditions using if, elseif, and else. This makes your narrative responsive to player actions or variables.
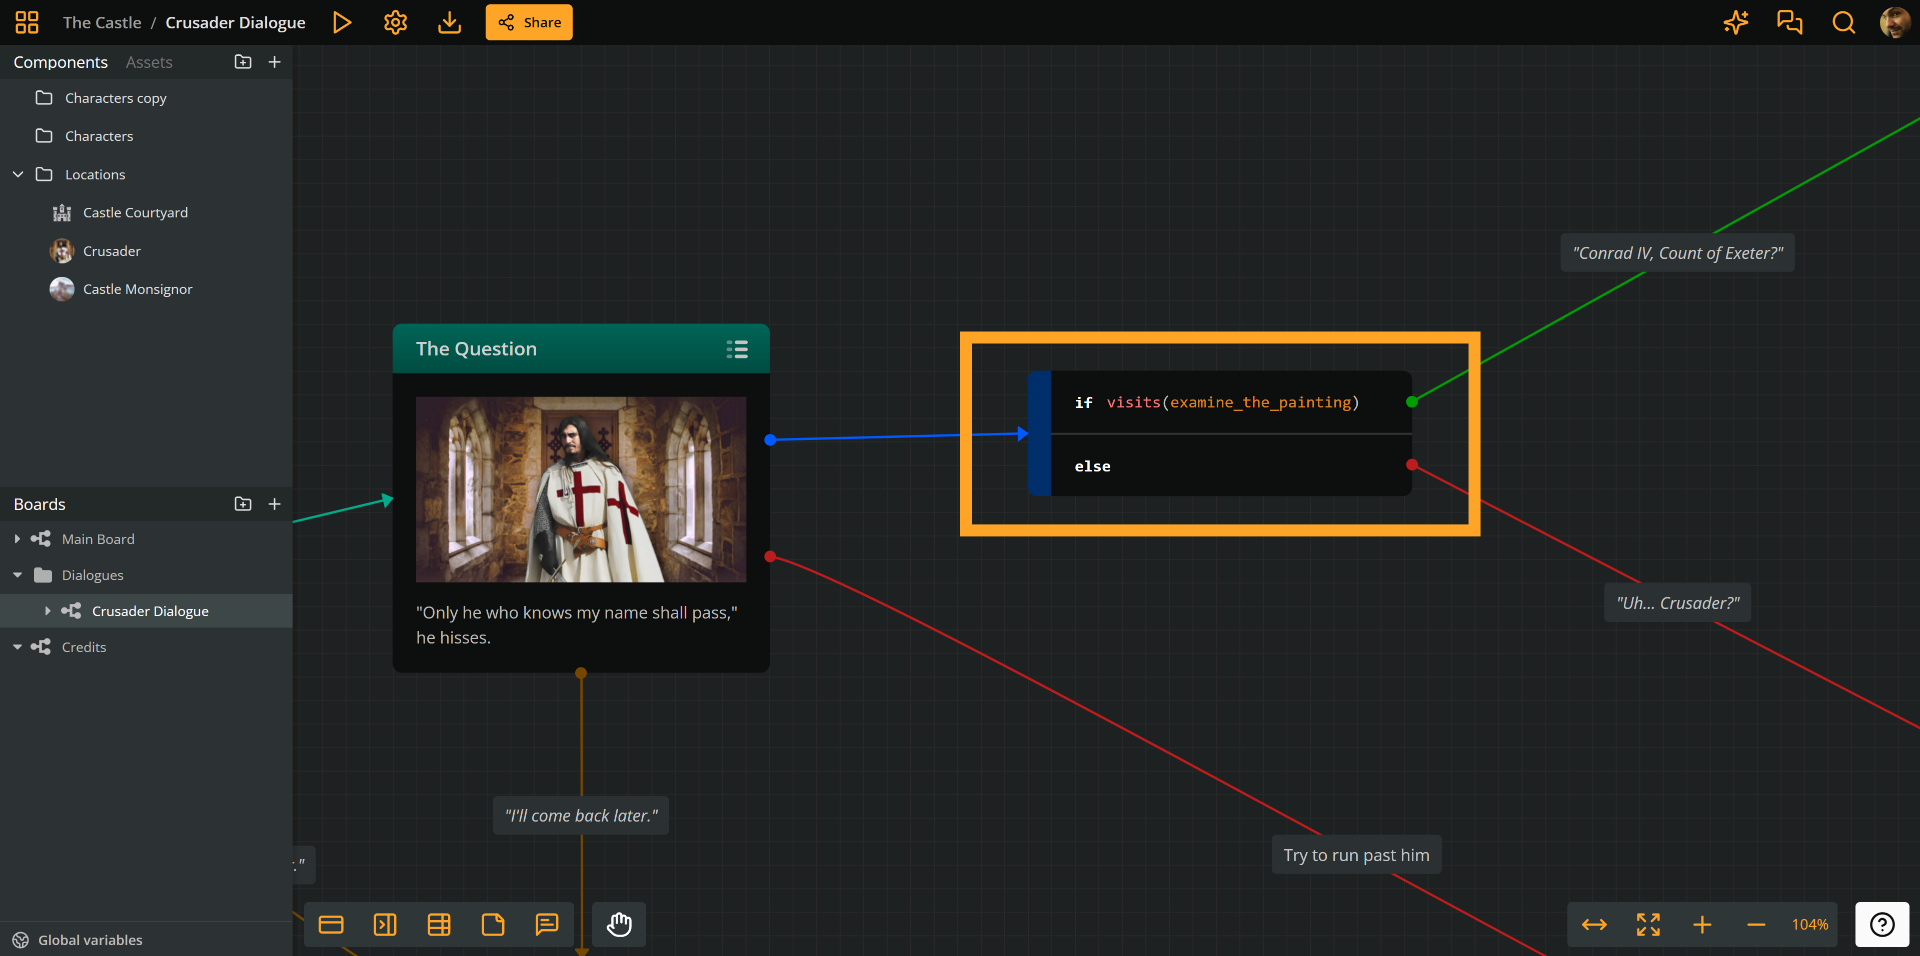
The screenshot above shows a branch in the example project, which includes an if and an else condition.