Godot Engine integration
Arcweave provides a free plugin for importing your Arcweave projects into Godot Engine (version 4.0 or later).
The plugin can import data from Arcweave's JSON (available to all workspaces) or fetch them using Arcweave's web API (Team workspaces only).
Example Project

Explore our Godot example project to see Arcweave's implementation with Godot in action. The project uses Arcweave's project template called Game Engine Example.
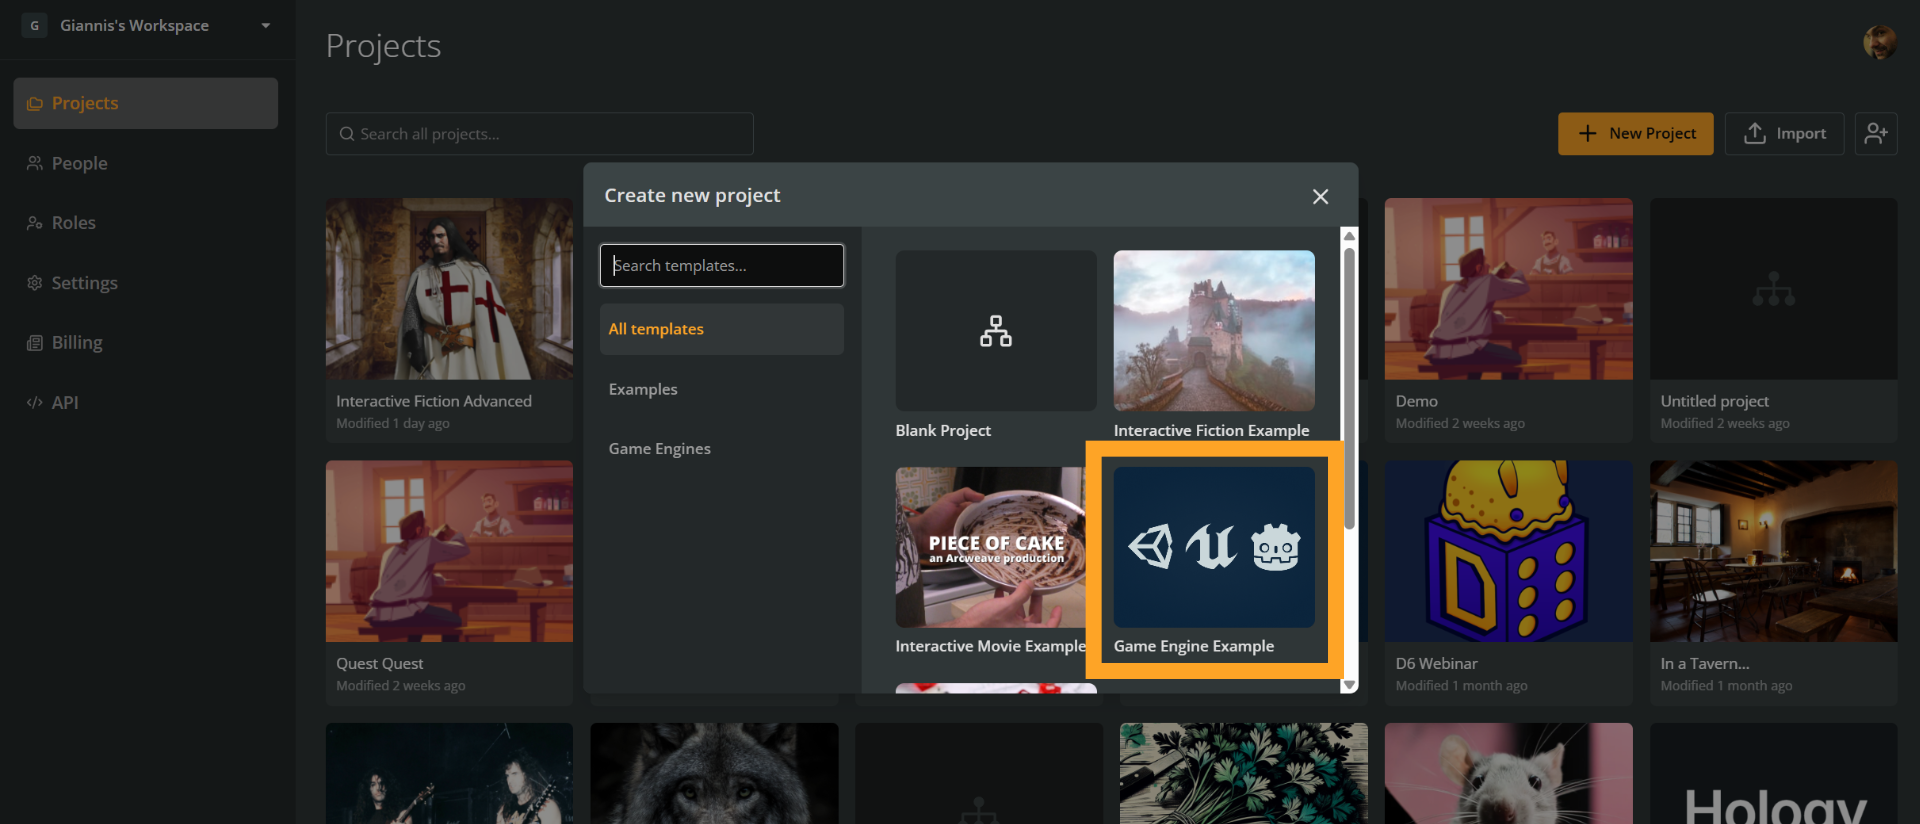
To recreate the Game Engine Example template:
- Go to the workspace's Projects section.
- Click the + New project button.
- Select a template from the menu.
Video Tutorials
For a step-by-step walkthrough on how to implement the above example, watch the following video tutorial.
Requirements
- Godot Engine: You must use the .NET version of Godot.
- Arcweave plugin: Available on the Godot Asset Library or from the GitHub repository.
Install & activate
Install
Complete the following steps, to install the Arcweave plugin for Godot Engine:
- Download the plugin from its GitHub repository.
- Add the plugin's
/arcweavefolder to your Godot project'saddonsdirectory. - Reload the project.
👉 Note: If you download via "Download ZIP", you will only get the
addonsfolder. To get the test project as well, clone the repo or download the full release ZIP file.
Create C# solution
If you haven't already, go to Project > Tools > C# > Create C# Solution. This will create .csproj and .sln files in your root directory.
Then, open the .csproj file in a text editor and add the following after the PropertyGroup section's closing tag:
<ItemGroup>
    <PackageReference Include="Antlr4.Runtime.Standard" Version="4.13.1" />
</ItemGroup>
The file will now look similar to this:
<Project Sdk="Godot.NET.Sdk/4.2.1">
  <PropertyGroup>
    <TargetFramework>net6.0</TargetFramework>
    <TargetFramework Condition=" '$(GodotTargetPlatform)' == 'android' ">net7.0</TargetFramework>
    <TargetFramework Condition=" '$(GodotTargetPlatform)' == 'ios' ">net8.0</TargetFramework>
    <EnableDynamicLoading>true</EnableDynamicLoading>
  </PropertyGroup>
  <ItemGroup>
    <PackageReference Include="Antlr4.Runtime.Standard" Version="4.13.1" />
  </ItemGroup>
</Project>
This installs the Antlr4 library required for parsing Arcscript.
Build
Now, build your Godot project: click Build (the hammer/pickaxe icon at the top left, above the Godot's Inspector, right next to the Play icon). Or press Alt+B.
Activate the Plugin
In Godot Engine, reload your project. Then, go to Project > Project Settings > Plugins, find Arcweave Plugin, and enable it.
Importing Arcweave Project Data
You can import your Arcweave project data into Godot using one of two methods:
Folder import
- In Arcweave, click Export project.
- Go to the Engine tab and select Export for Godot.
- Press Export to save the exported
.jsonfile.
API Import (Team accounts only)
- In Arcweave, obtain your workspace's API key and your project's hash.
- In Godot, provide this information in the plugin's interface.
ArcweaveAsset
To import your data into Godot, you must first create and initialize an ArcweaveAsset resource, in your Godot project. Follow the next steps:
- In the FileSystem tab, right-click and select New Resource.
- Choose ArcweaveAsset and give it a name.
- In the Inspector, choose your data source:
- Importing from JSON: Click on Select Project File, find your downloaded JSON file and select it.
- Importing from API: Fill the API key and Project Hash values.
- Click Initialize ArcweaveAsset to load the data onto the resource.
Using Arcweave data
You can use the plugin with either a custom node or the provided ArcweaveNode.
Using ArcweaveNode
This plugin creates a new ArcweaveNode class (inheriting from Godot's Node) , that you can use in your scenes to integrate your Arcweave Project in your game.
This Node has 3 properties:
ArcweaveAsset: The resource you already created and initialized.Story: The class that handles the Arcweave project and its flow. It stores all the info regarding your project and it is the way we are interacting with it.ApiRequest: A child node of ArcweaveNode that handles the connection to the Arcweave API for requesting and retrieving the updated Arcweave project.
Add an ArcweaveNode as a child node in your scene and use the Inspector tab to connect it to your ArcweaveAsset resource that you created earlier, as follows:
- Add an
ArcweaveNodeas a child in your scene. - In the Inspector, connect it to your
ArcweaveAsset.
Using a custom node
Using the plugin's ArcweaveNode is not mandatory. You can also create your own nodes and interact with the ArcweaveAsset.
In order to update during runtime though, you will have to add the script APIRequest.gd to your scene and initialize the Story class directly in GDScript or C#.
Examples are available on the plugin's GitHub repo:
- GDScript: Example scene with ArcweaveNode
- GDScript: Example scene without ArcweaveNode
- C#: Example scene with ArcweaveNode
- C#: ArcweaveNode script
Our implementation
Most of our implementation, except ArcweaveAsset and some editor GDScript classes, are written in C#. This means that not all of the API is available in GDScript, because of type compatibility issues. The reason is that the interpreter we are using for arcscript is written in C# and uses built in types.
Using functions with the name pattern GetGodot* will retrieve the appropriate instance properties in Godot types but doing this will require copying and typecasting, so the experience might be slower.
We are planning to integrate Godot types in our interpreter in the near future that will speed up this process.
Using the plugin
Using Godot's functionality for cross-language scripting you can use the plugin both from GDScript and C# Godot Projects. The only limitation is that you must use the .NET version of Godot Engine.
The plugin's repo provides a simple demo of both implementations.
C# example
How to use the plugin in a C# Godot Project
The main Class that the user should use is the Story class of the plugin. This has most of the functionalities needed to traverse through a Project. Story is stored as a property inside our ArcweaveNode so our examples are based on that.
To start a Project's Story you have to initialize a Story instance with it's project settings, as well as an instance of APIRequest to be able to update your project on runtime. ArcweaveNode handles that in it's _Ready function, so if you are using this Node Type, you don't have to do it.
public override void _Ready()
{
    Dictionary projectSettings = (Dictionary)ArcweaveAsset.Get("project_settings");
    Story = new Story(projectSettings);

    var requestScript = GD.Load<GDScript>("res://addons/arcweave/Editor/APIRequestScript.gd");
    ApiRequest = (Node)requestScript.New(ArcweaveAsset);
    AddChild(ApiRequest);
}
During the initialization, the data is loaded, the starting_element is set and the Element Options are generated.
If you have a text container you can use the Story.GetCurrentRuntimeContent() function to get the text of the current element and set it. In our Demo project, we have a function called Repaint() that updates our TextContainer with the new content.
private void Repaint()
{
    TextContainer.Text = ArcweaveNode.Story.GetCurrentRuntimeContent();
}
You can also use Story.GenerateCurrentOptions() function to get the options of the current element:
private void Repaint()
{
    TextContainer.Text = ArcweaveNode.Story.GetCurrentRuntimeContent();
    AddOptions()
}

private void AddOptions()
{
    // Empty the previous options
    foreach (var b in OptionContainer.GetChildren())
    {
        OptionContainer.RemoveChild(b);
    }
    // Retrieve the current options
    Options options = ArcweaveNode.Story.GenerateCurrentOptions();
    if (options.Paths != null)
    {
        foreach (var path in options.Paths)
        {
            if (path.IsValid)
            {
                Button button = CreateButton(path);
                OptionContainer.AddChild(button);
            }
        }
    }
}
To select a certain option and continue the story path, we add a signal handler for the button in CreateButton that we used earlier, where we select the Path that we provided using Story.SelectPath(). When the new path is selected, we call the repaint function to recreate our UI.
private Button CreateButton(IPath path)
{
    Button button = new Button();
    button.Text = path.label;
    button.Pressed += () => OptionButtonPressed(path);

    return button;
}

private void OptionButtonPressed(IPath path)
{
    ArcweaveNode.Story.SelectPath(path as Path);
    Repaint();
}
GDScript example
How to use the plugin in a GDScript Godot Project
The main Class that the user should use is the Story class of the plugin. This has most of the functionalities needed to traverse through a Project. Story is stored as a property inside our ArcweaveNode so our examples are based on that.
To start a Project's Story you have to initialize a Story instance with it's project settings, as well as an instance of APIRequest to be able to update your project on runtime. ArcweaveNode handles that in its _ready function, so if you are using this Node Type, you don't have to do it.
# Your ArcweaveAsset resource file
var arcweave_asset: ArcweaveAsset = preload("res://ArcweaveAsset.tres")
var api_request: APIRequest
var Story = load("res://addons/arcweave/Story.cs")
var story

func _ready():
    api_request = APIRequest.new(arcweave_asset)
    arcweave_asset.project_updated.connect(_on_project_updated)
    add_child(api_request)

    story = Story.new(arcweave_asset.project_settings)
During the initialization, the data is loaded, the starting_element is set and the Element Options are generated.
If you have a text container (here, a RichTextLabel node saved as text_window) you can use the story.GetCurrentRuntimeContent() function to get the text of the current element and set it. In our Demo project, we have a function called repaint() that updates our TextContainer with the new content.
func repaint():
    text_window.text = story.GetCurrentRuntimeContent()
You can also use story.GenerateCurrentOptions() function to get the options of the current element:
func repaint():
    text_window.text = story.GetCurrentRuntimeContent()
    add_options()

func add_options():
    for option in options_container.get_children():
        options_container.remove_child(option)
        option.queue_free()

    var options = story.GenerateCurrentOptions()
    var paths = options.GetPaths()
    if paths != null:
        for path in paths:
            if path.IsValid:
                var button : Button = create_button(path)
                options_container.add_child(button)
To select a certain option and continue the story path, we add a signal handler for the button in create_button that we used earlier, where we select the Path that we provided using story.SelectPath(). When the new path is selected, we call the repaint function to recreate our UI.
func create_button(path):
    var button : Button = Button.new()
    button.text = path.label
    button.pressed.connect(option_button_pressed.bind(path))
    return button

func option_button_pressed(path):
    story.SelectPath(path)
    repaint()
Story class
Properties
| Property | Description |
|---|---|
Project project | The Project instance of the story |
Dictionary ProjectData | The starting ProjectData |
IElement CurrentElement | The current element of the story |
Methods
| Method Name | Description |
|---|---|
Story(Dictionary projectData) | Initializes a Story with the project data |
void UpdateStory(Dictionary projectData) | Updates the story with the new project data |
void SetCurrentElement(string id) | Sets the current element |
void SetCurrentElement(IElement element) | Sets the current element |
string GenerateCurrentRuntimeContent() | Returns the current element's content |
Options GenerateCurrentOptions() | Returns the current element's options |
Element GetCurrentElement() | Returns the current element |
void SelectPath(Path path) | Selects a path/option |
Project class
Properties
| Property | Description |
|---|---|
string Name | The Project's name |
Dictionary<string, IBoard> Boards | The Boards of the Project |
Dictionary<string, IComponent> Components | The Components of the Project |
Dictionary<string, IVariable> Variables | The Variables of the Project |
Dictionary<string, IElement> Elements | The Elements of the Project |
IElement StartingElement | The starting element of the Project |
Methods
| Method Name | Description |
|---|---|