Using Play Mode
This page explains how to use Play Mode.
Access to Play Mode and its features depends on a user's role within the project. For a quick overview of roles, see Workspace and project roles in the Introduction section.
Unless otherwise noted, all instructions apply to project or workspace owners and editors, who have full access to the project.
Set Play Mode start
Before running your project in Play Mode, you must define a starting element. To set a starting element:
- Right-click the desired element.
- Select Play Mode > Set start.
You can change the starting element at any time by repeating the same action on a different element.
⚠️ A project can have only one starting element.
ℹ️ Once a starting element is set, the only way to remove it is by assigning the Play Mode start to another element.
Enter Play Mode
To enter Play Mode, click the Play Mode button on the top-left of the menu bar.

⚠️ Project visitors without access to the board can only enter Play Mode via a public link. This occurs when a project has been shared publicly for Play Mode access only. See Share your project.
Quickstart from here
Workspace and project owners and editors can also start Play Mode from any element in the project, ignoring the starting element. To do this:
- Right-click an element.
- Select Play Mode > Quickstart from here.
⚠️ Quickstarting from an element skips all variable changes and element visits that would normally occur when reaching that element through standard play.
Reorder options
Workspace and project owners and editors can reorder an element's clickable options. To reorder an element's options:
- Right-click the element in your board.
- Select Play Mode > Quickstart from here.
- In Play Mode, drag and drop the options into the desired order. Changes are saved automatically.
Play Mode menu
The Play Mode's top menu provides access to the following tools and options:
- Restart story: Resets everything and restarts the story.
- Share: Lets you share your project and control its public access.
- Style Editor: Lets you style Play Mode's appearance through direct CSS editing.
- Audio: Controls the playback volume of your project's audio.
- Debug: Opens the debugger, where you can inspect the current board, current element, and variable changes.
Restart story
To restart the story, click the Restart button on the left side of the Play Mode top menu. This resets all variables and element visits, and restarts the story from the starting element.
Control audio volume
If you attach audio assets to elements, these files will automatically play during transitions between elements in Play Mode.
The Play Mode interface includes audio controls on the top menu:
- Click the audio icon to access volume controls.
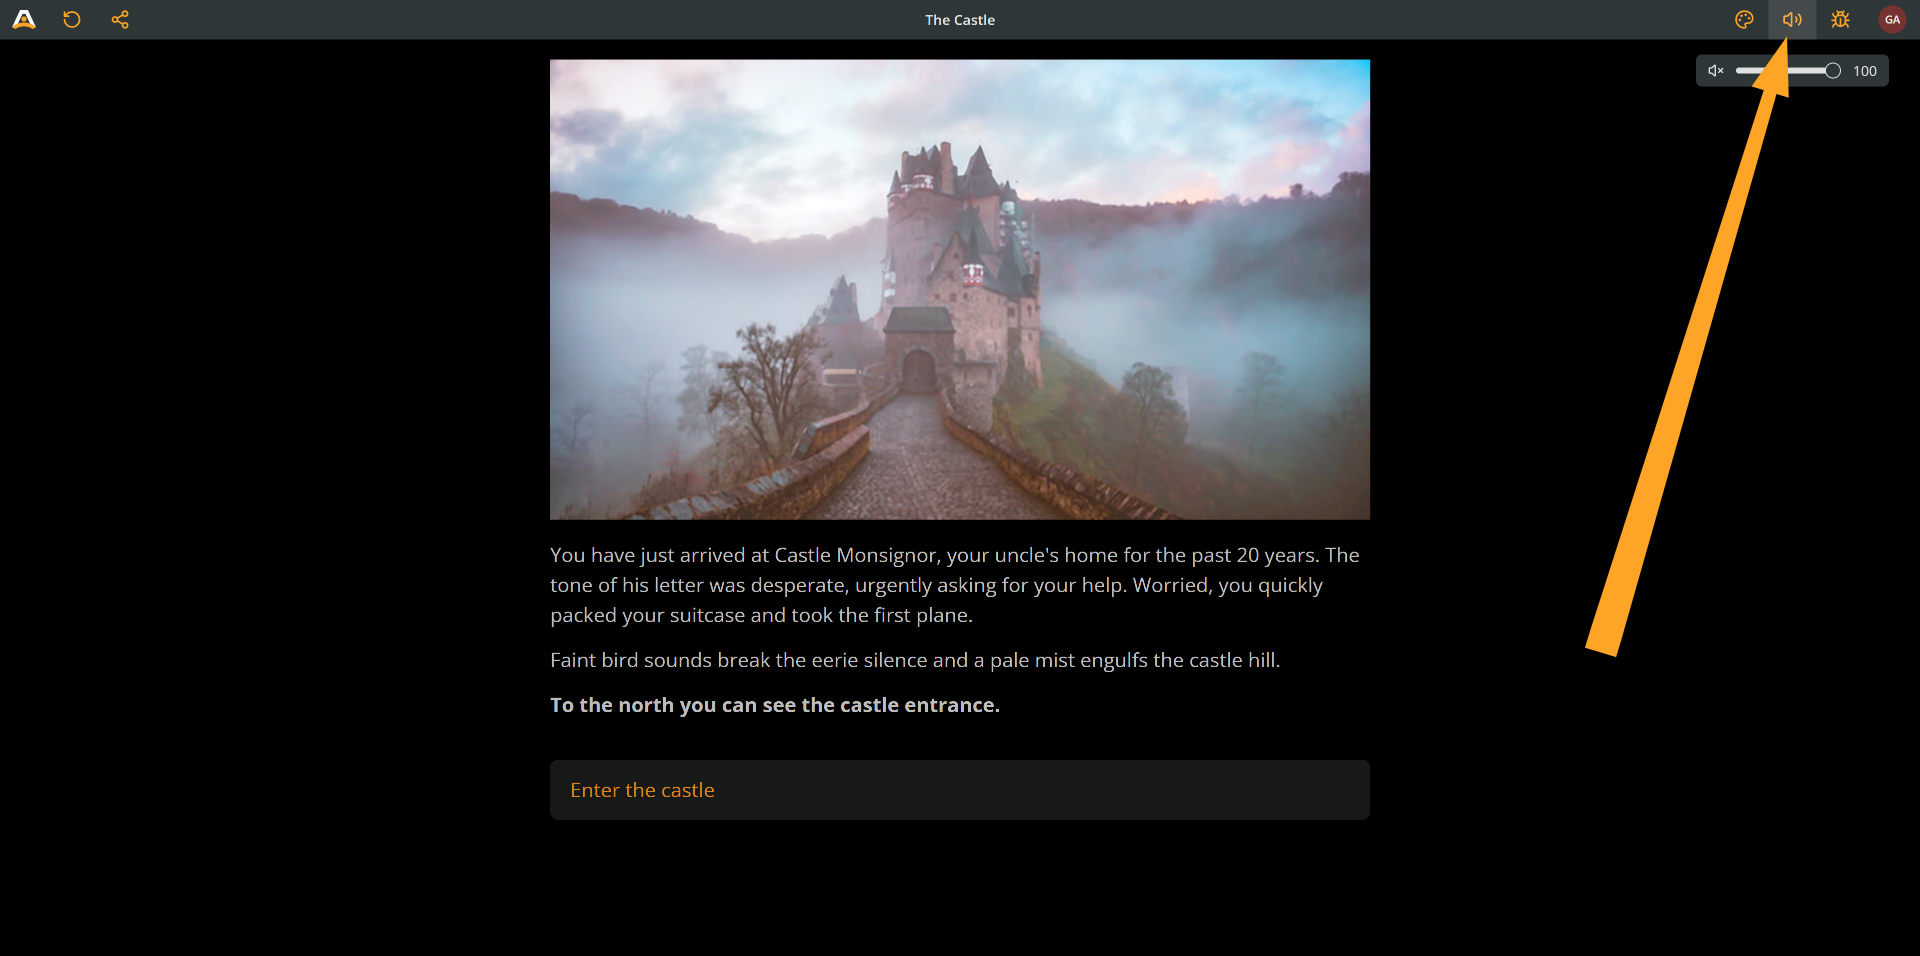
- Adjust the volume slider to set your preferred audio level.
- Click the mute icon to toggle audio on or off.
Choose language
The Play Mode interface includes a menu that lets you select the story's language. This option is useful when a project uses Arcweave's localization feature and includes multiple languages.

To change the story's language:
- Click the Localization icon to open the list of available story languages.
- Choose the desired language.
Share project
For all users except project visitors, the Play Mode interface includes a Share button, located on the left side of the top menu.
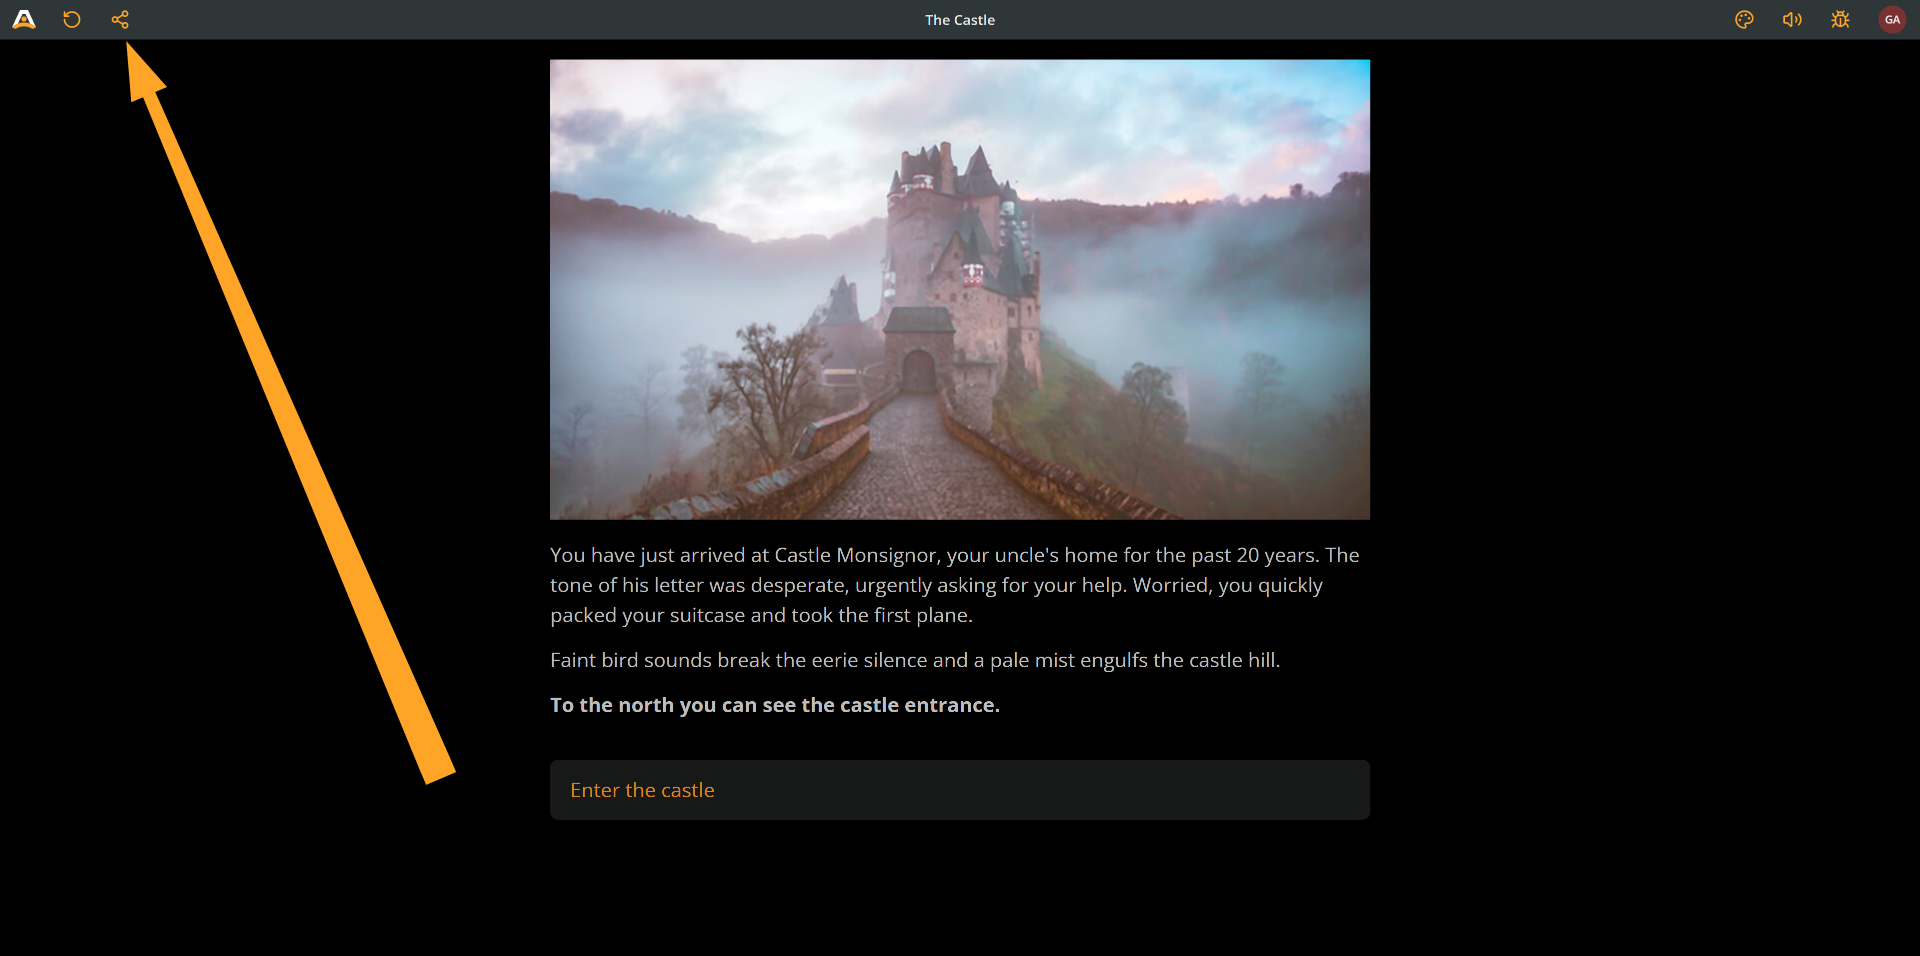
This button functions identically to the project's main Share button: it opens the Share panel, where you can manage project collaborator and visitor access. The available sharing options and permissions depend on the user's assigned role within the project.
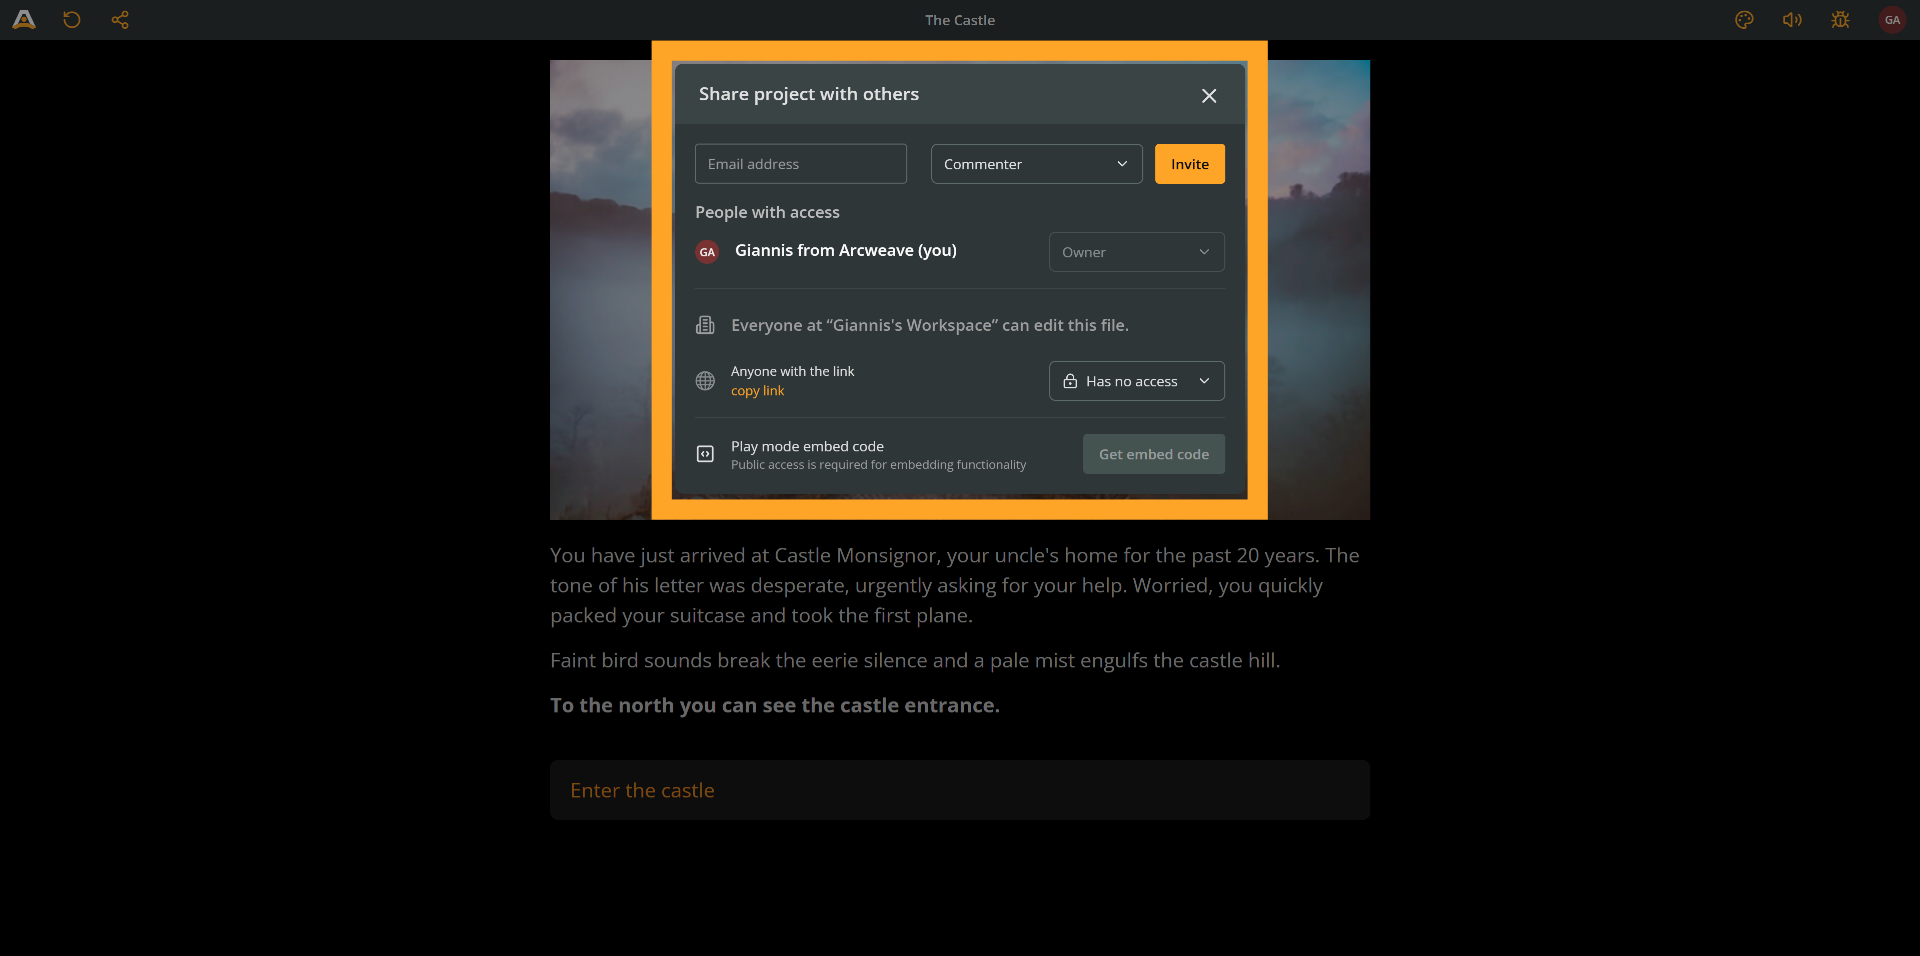
For a detailed description of the Share panel, see Share your project.