Jumpers
A jumper represents a link to an element of the same project. Jumpers allow the connection of elements or branches with other elements that are either far away or in different boards. Jumpers offer flexibility to your writing process and improve the readability of your project, allowing you to organize your story in small sections across multiple boards.
The element a jumper links to is called target element.
Use cases
Consider the following use cases:
Use multiple boards
Structure your narrative by organizing it into sequences, scenes, and dialogue trees.
Use board folders to group related sequences or acts, and create separate boards for each scene or dialogue tree. This modular setup keeps your project organized and scalable—especially in complex or branching narratives.
Once your boards are set up, use jumpers to connect story elements between them.
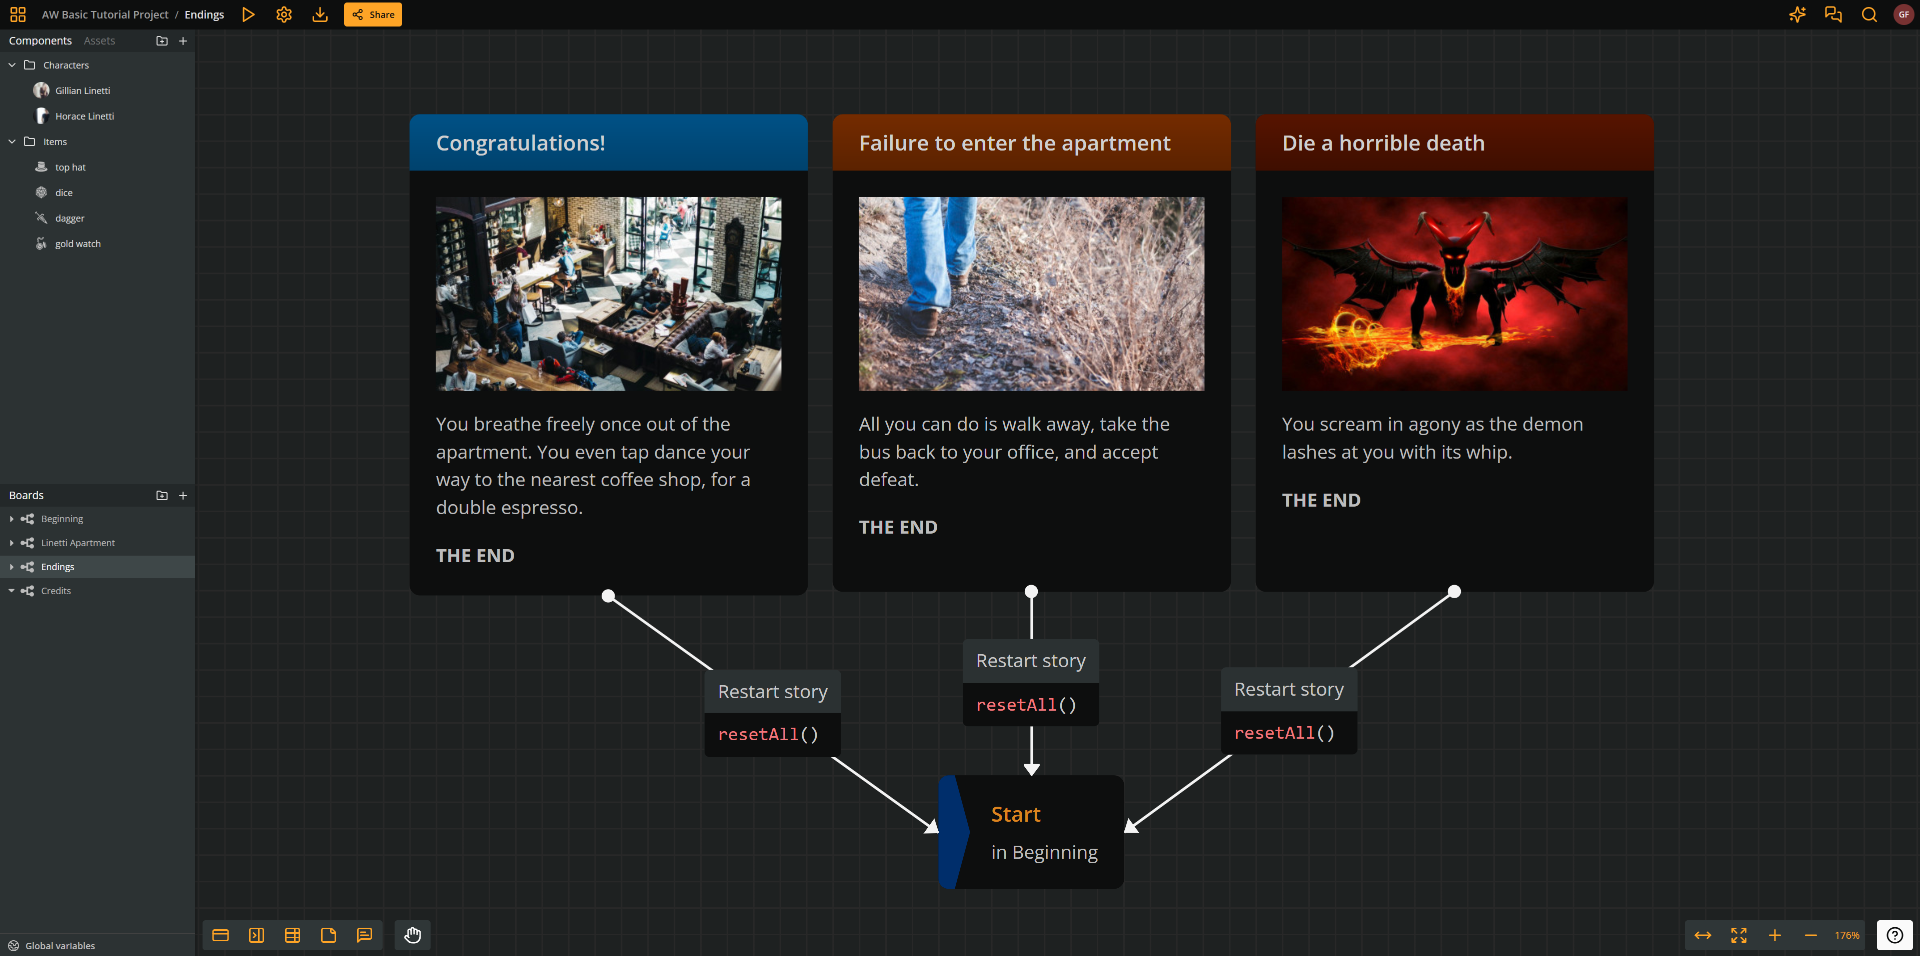
Restart the story
Let players restart the story by linking your ending elements back to the beginning. Use a jumper to connect the final node to the starting one—and don't forget to reset any relevant variables!
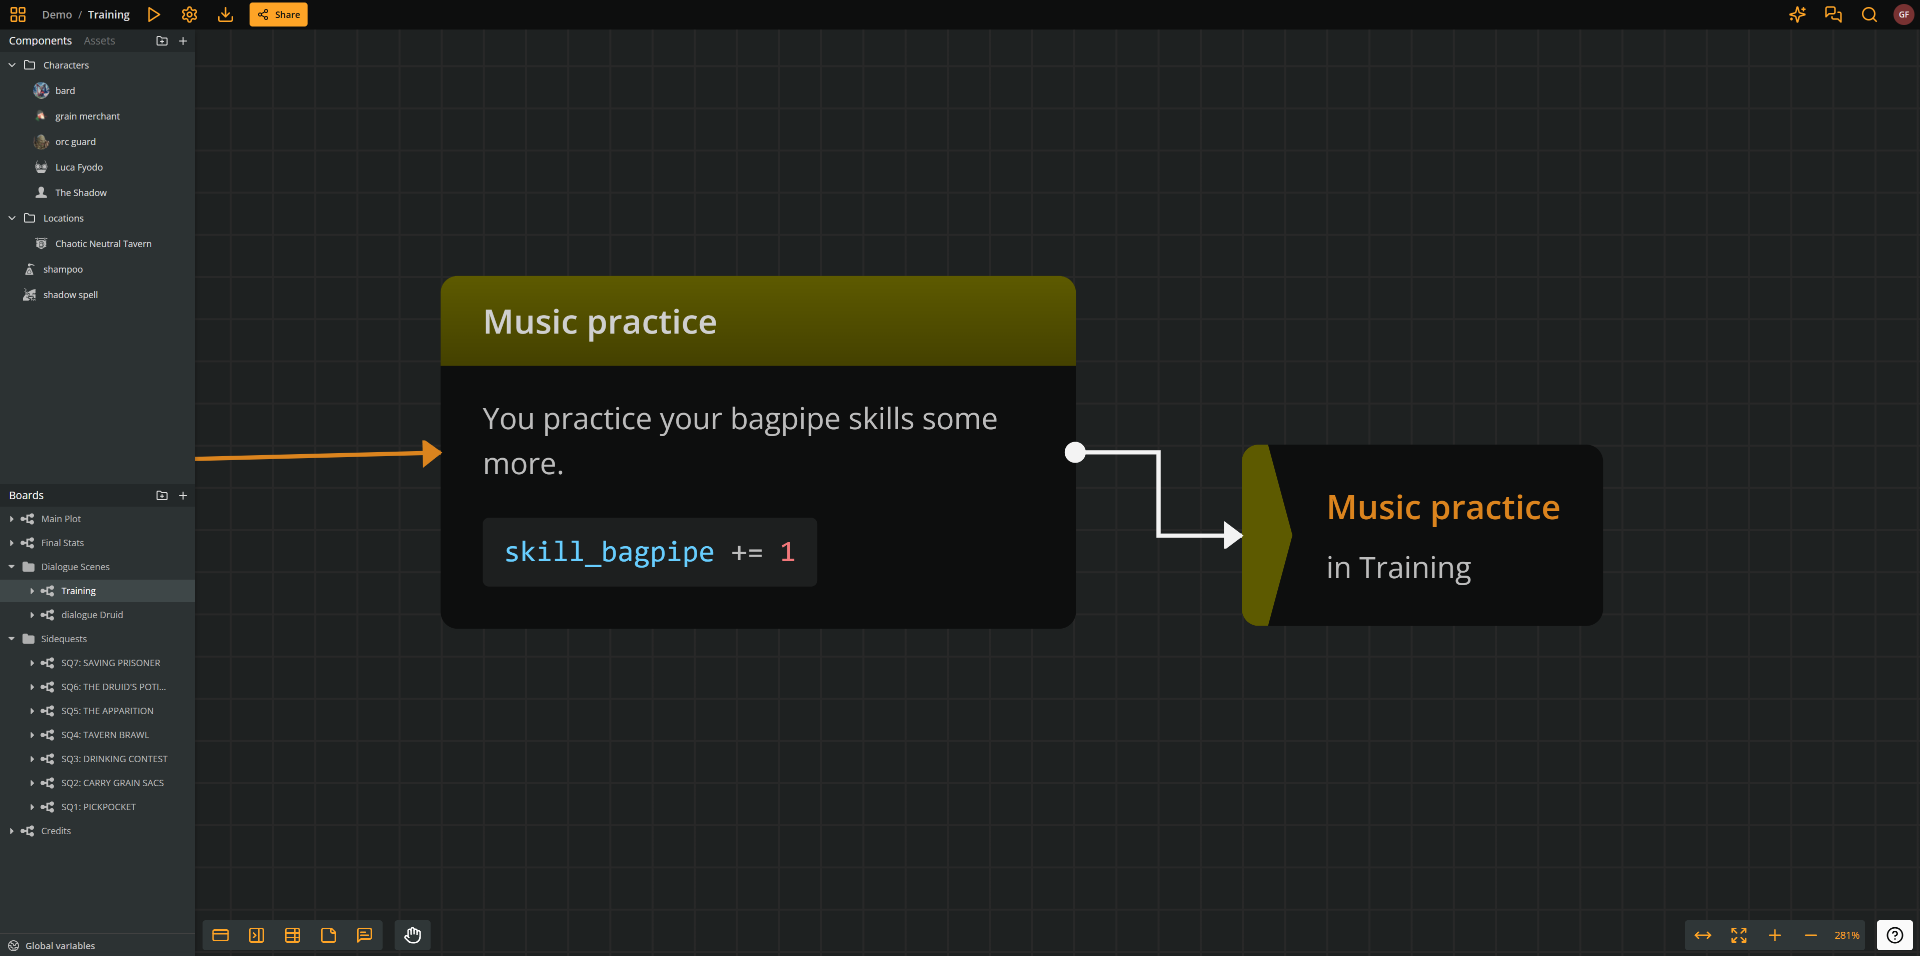
Create loops
You can also use jumpers to create loops within a single board. For example, an element might connect to itself to increment a variable each time it's visited:
Create jumpers
To create a jumper, take any of the three following actions:
- Right-click on an empty area of the current board and select Create jumper.
- Drag and drop the New jumper icon from the bottom menu's left corner to an empty area of the board.
- Drop a connection end to an empty board area and select Create jumper here. (See connections.)
Both these ways create an empty jumper. For a jumper to work, you must assign it a target element.
Select jumpers
To select a jumper, simply click on it. To select multiple jumpers, hold Shift or Ctrl/Cmd and δο either of the following:
- Click each jumper consecutively.
- Click and drag to create a selection rectangle.
✅ You can similarly select connections, elements, and notes.
Delete jumpers
To delete a jumper, do either of the following two:
- Select it and press the Delete or Backspace key.
- Right-click on it and select Delete from the menu.
Assign jumper targets
To assign a target element to a jumper, do any of the following:
- Via Copy/Paste: this method is handy when you can easily access the target element in a board.
- In the board, click on the element to select it.
- Copy the element (either with Ctr/Cmd+C or right-click and Copy).
- Right-click your empty jumper (or an empty area of the board) and select Paste as jumper (or use the Ctr+Shift+V shortcut).
- From the Boards section: use this method when you have located the target element in the left sidebar.
- Go to the Boards section of the left sidebar.
- Find the board where the target element is.
- Expand the board by clicking on the drop-down arrow next to its icon.
- Find the target element by its name.
- Drag and drop the element into the empty jumper (or an empty area of the board).
- From the Search field: use this method if you have the target element in your search results.
- Search and find the desired element.
- From the search results, drag the element into an empty jumper (or an empty area of the board).
✅ Shortcut: Dragging or "Pasting as jumper" to an empty area of the board creates a jumper and assigns its target at the same time.
Change jumper targets
To change a jumper's target, drag and drop the new target element into the jumper, using any of above methods.